 Spline
New in Hana: 3D transform tools, Grid layout and Version history
A big update to the Hana design canvas: hands-on 3D transform tools, grid layout, multiple fills per layer, version history, a command palette, new vector tools and a long list of everyday improvements.
Today we're shipping one of the biggest updates to Hana's design tools so far. The 3D transform tools we introduced last year get a big overhaul: you can now turn objects in 3D directly on the canvas, with a rotation handle and a selection box that follows the object. Hana also gets grid layout, multiple fills per layer and version history, plus a long list of everyday tools: a command palette, line and arrow tools, outline mode, find and replace, and multi-page PDF export.
Here's everything that's new.
3D transforms, on the canvas
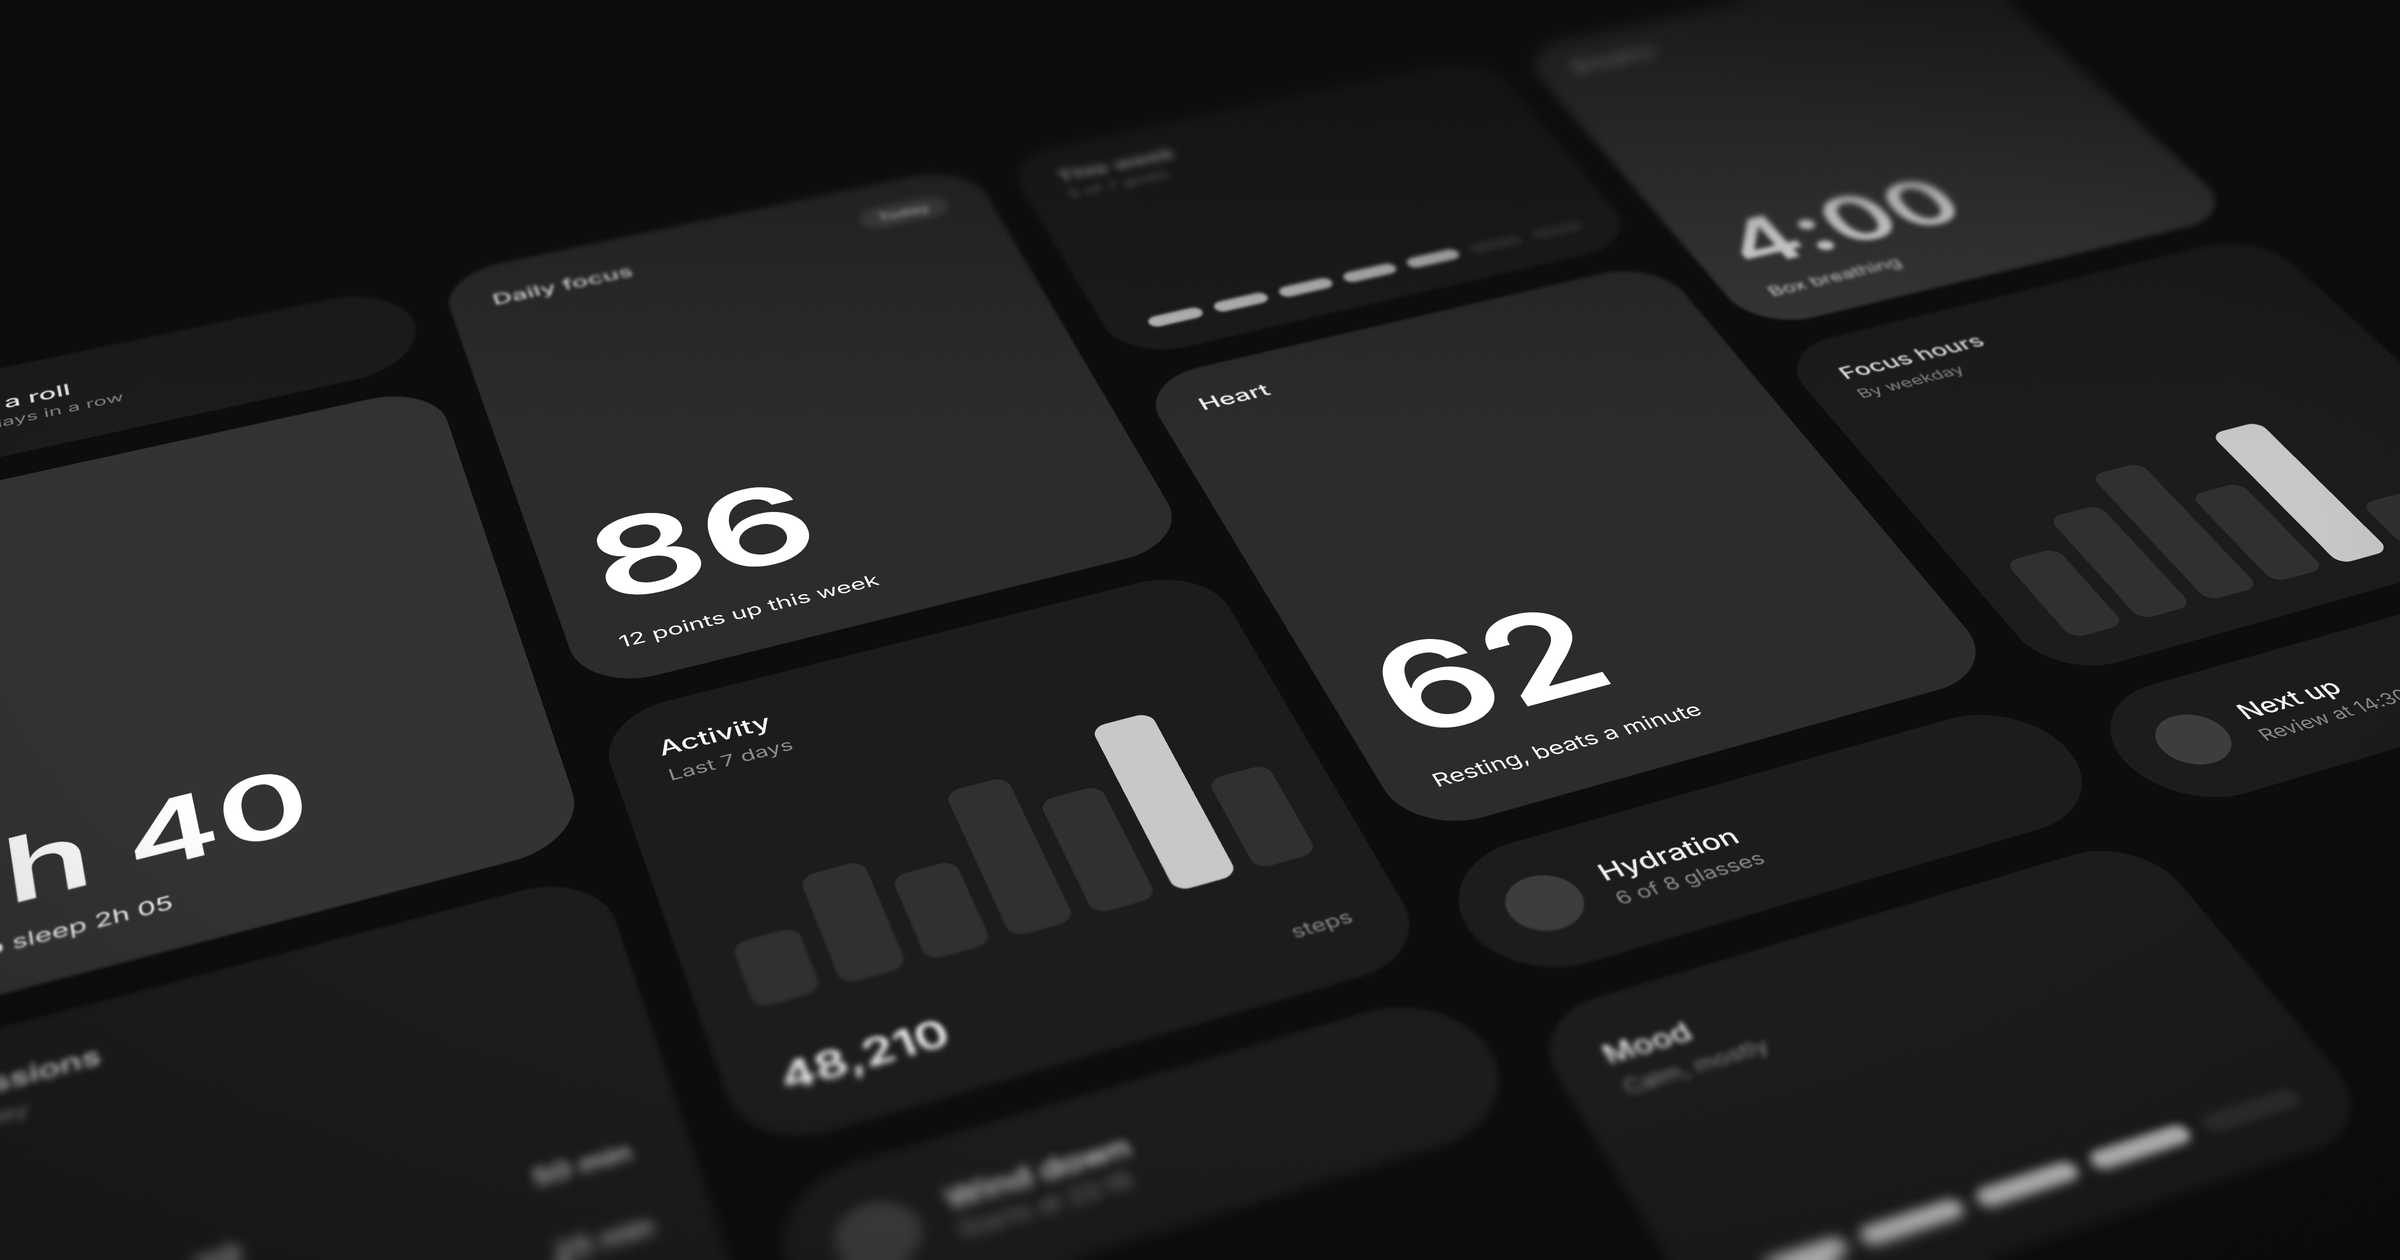
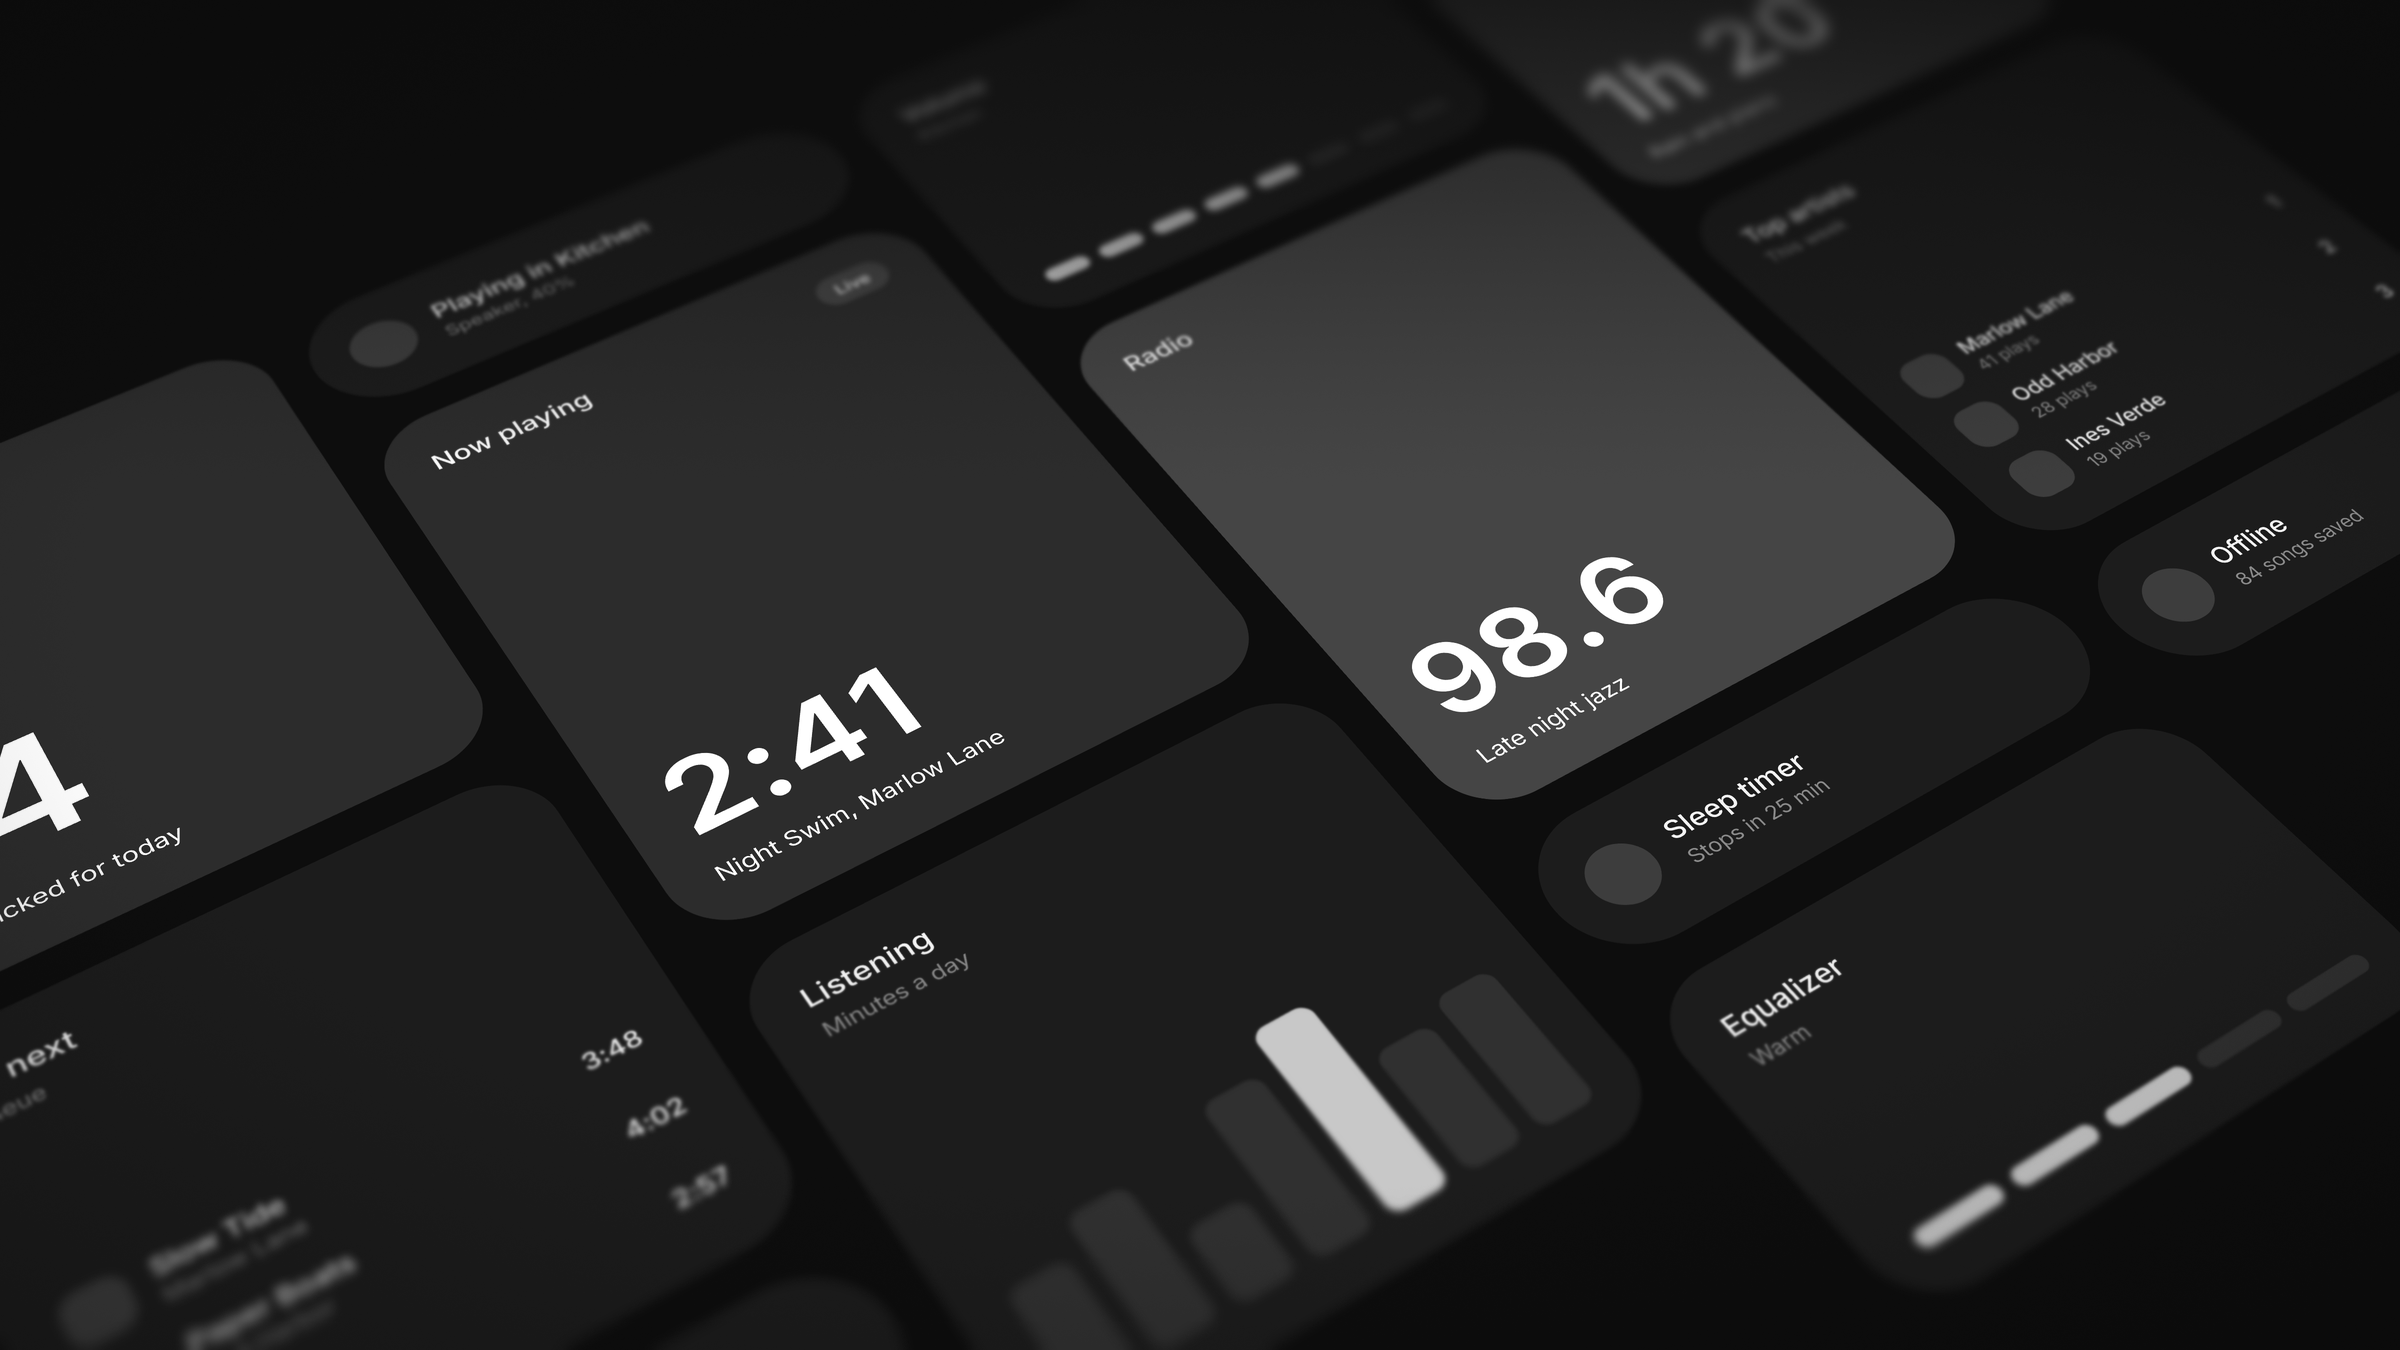
We introduced 3D transforms in Hana last year. Any object can be turned in 3D: a card, a whole screen, or a board full of them. That's how we made the cover of this post and the two app boards further down. Each one is a regular Hana frame of app UI, tilted back with the 3D transform.
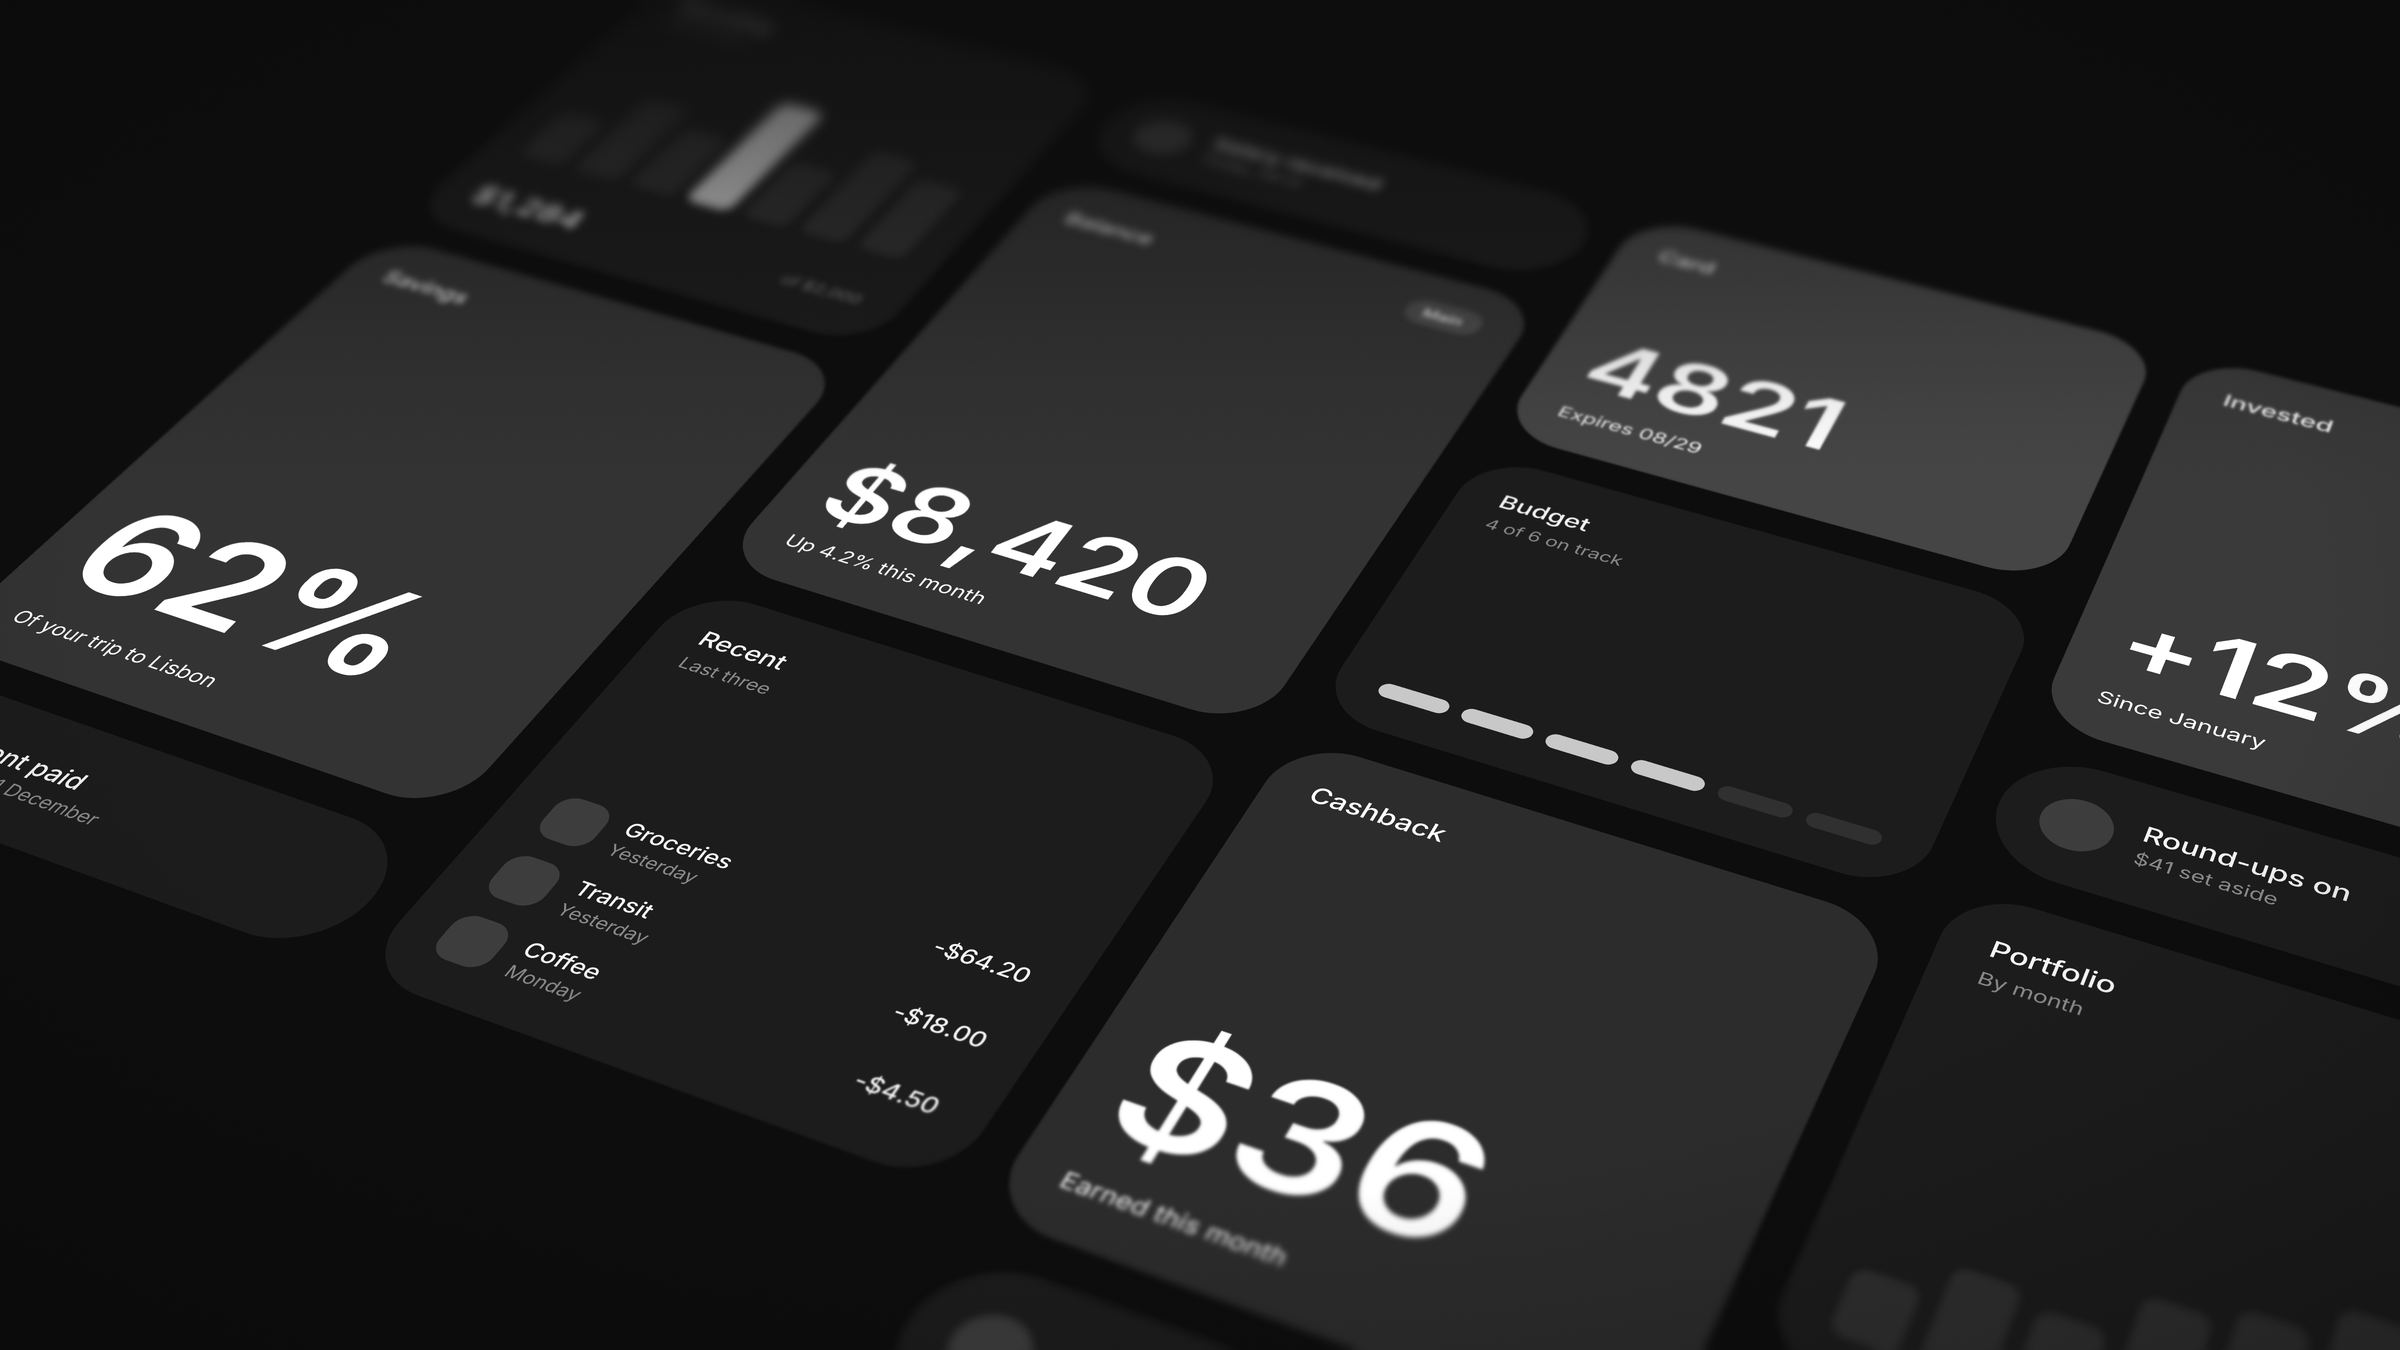
The transform itself is not new, but the way you work with it is. Until now, you set it by typing numbers into the Transform panel, and the selection box stayed flat while the object leaned away from it. This update is a big overhaul of those tools: you can now do all of it on the canvas.
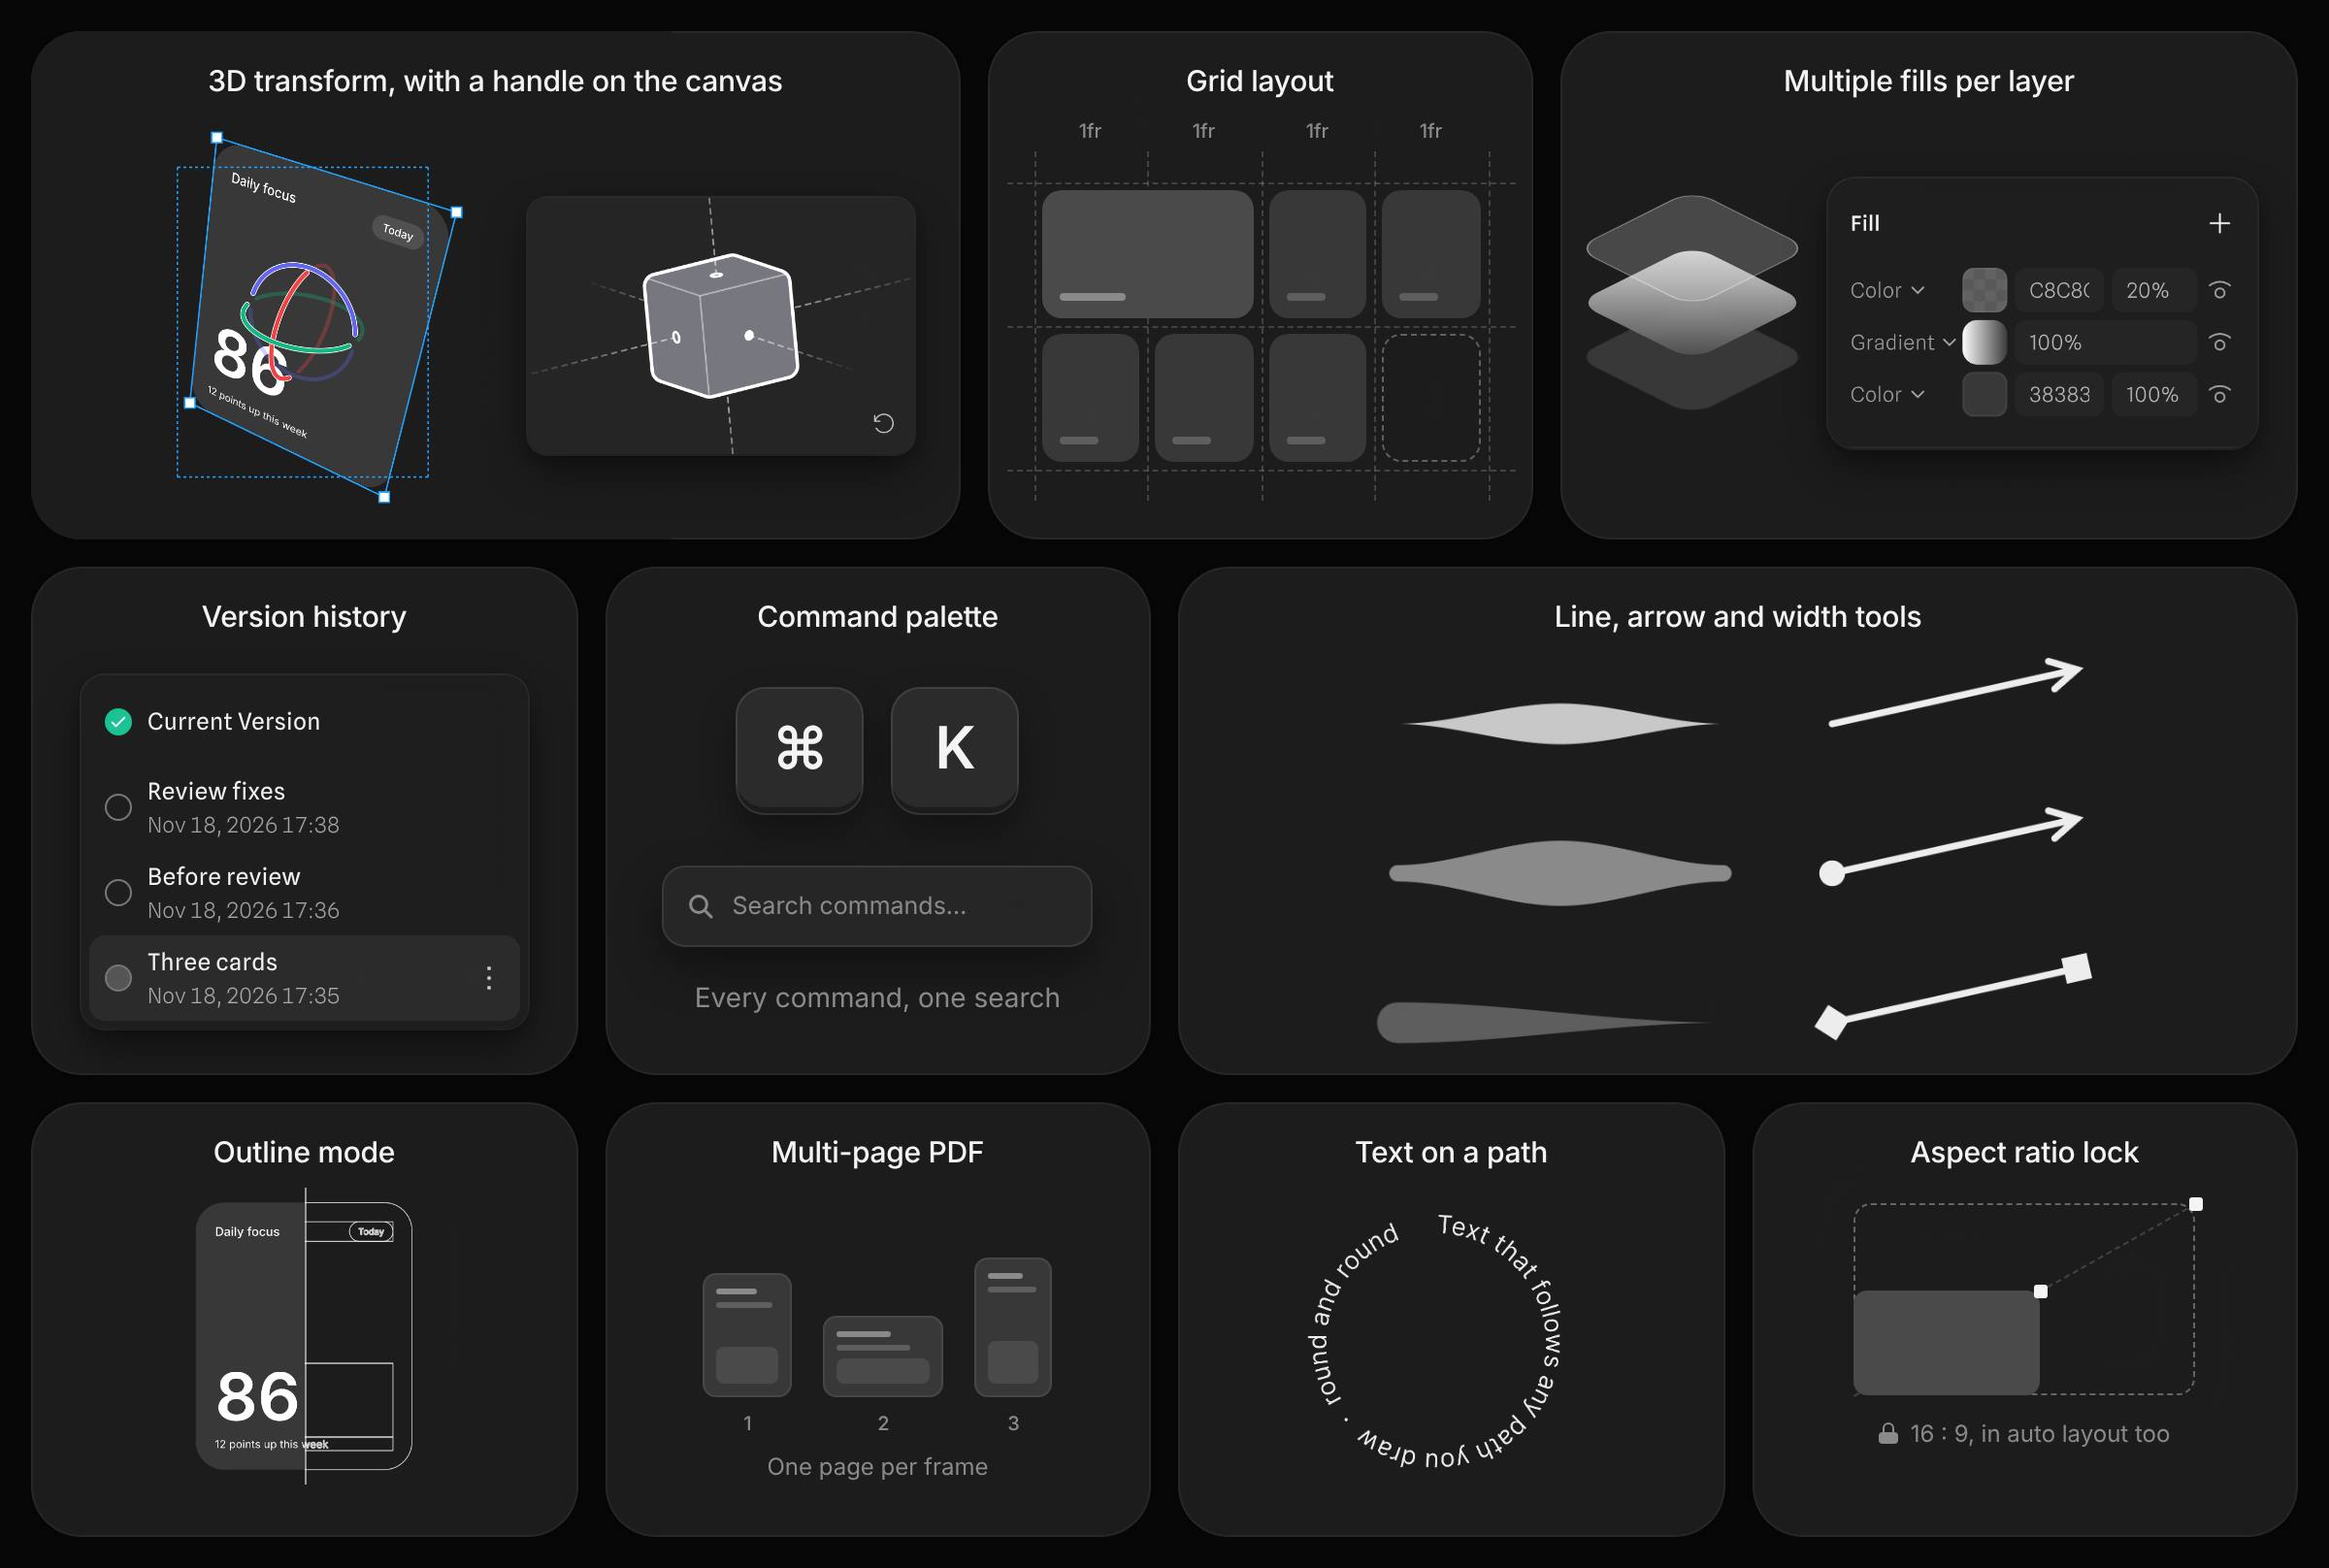
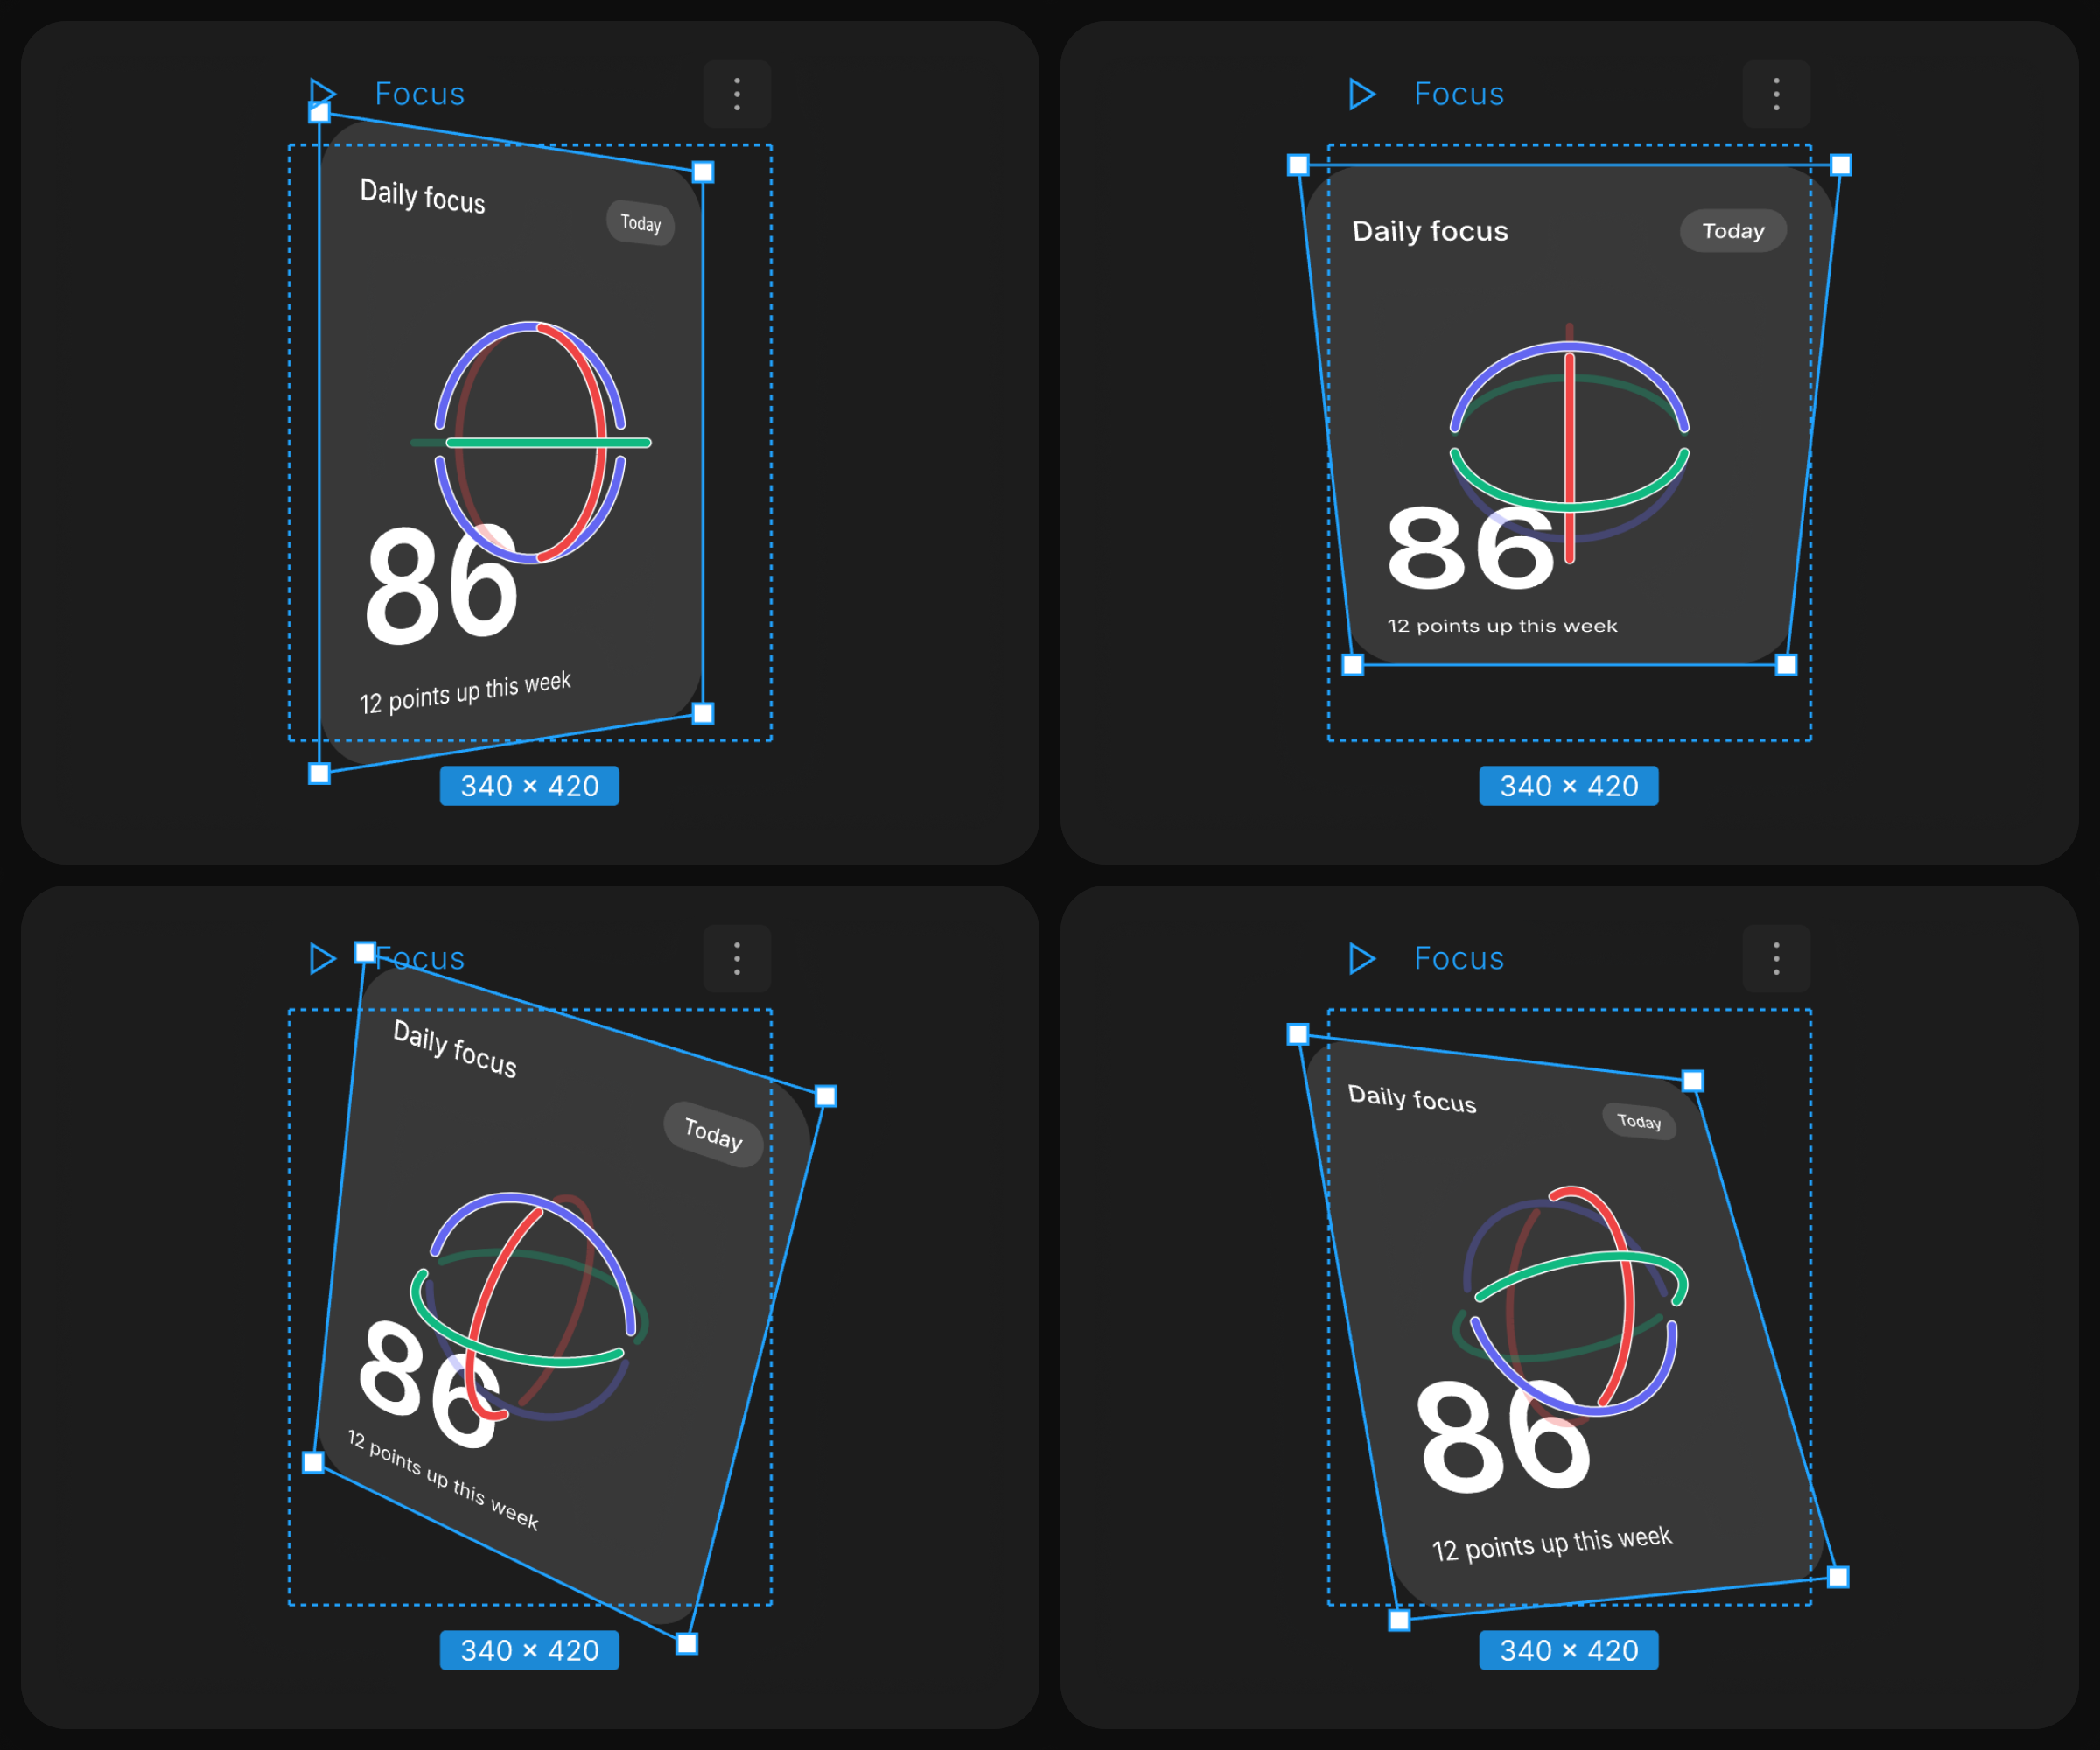
The selection box follows the object. When an object is turned in 3D, its selection box turns with it. The box wraps the shape as you see it, with the resize handles on its corners. The original flat box stays as a dotted outline behind it, so you can still see where the layer sits in your layout. The corner radius handles follow the shape too, and when you drag a handle, it stays under your pointer.
A rotation handle on the canvas. Three rings, one per axis, appear on the object when you hover it or while the 3D panel is open. Drag a ring to turn the object around that axis, or drag inside the rings to turn it freely. The handle sits on the object's pivot, so it stays in place while the object turns around it. The half of each ring that is behind the object fades out, which makes it easy to see which way the object is facing.
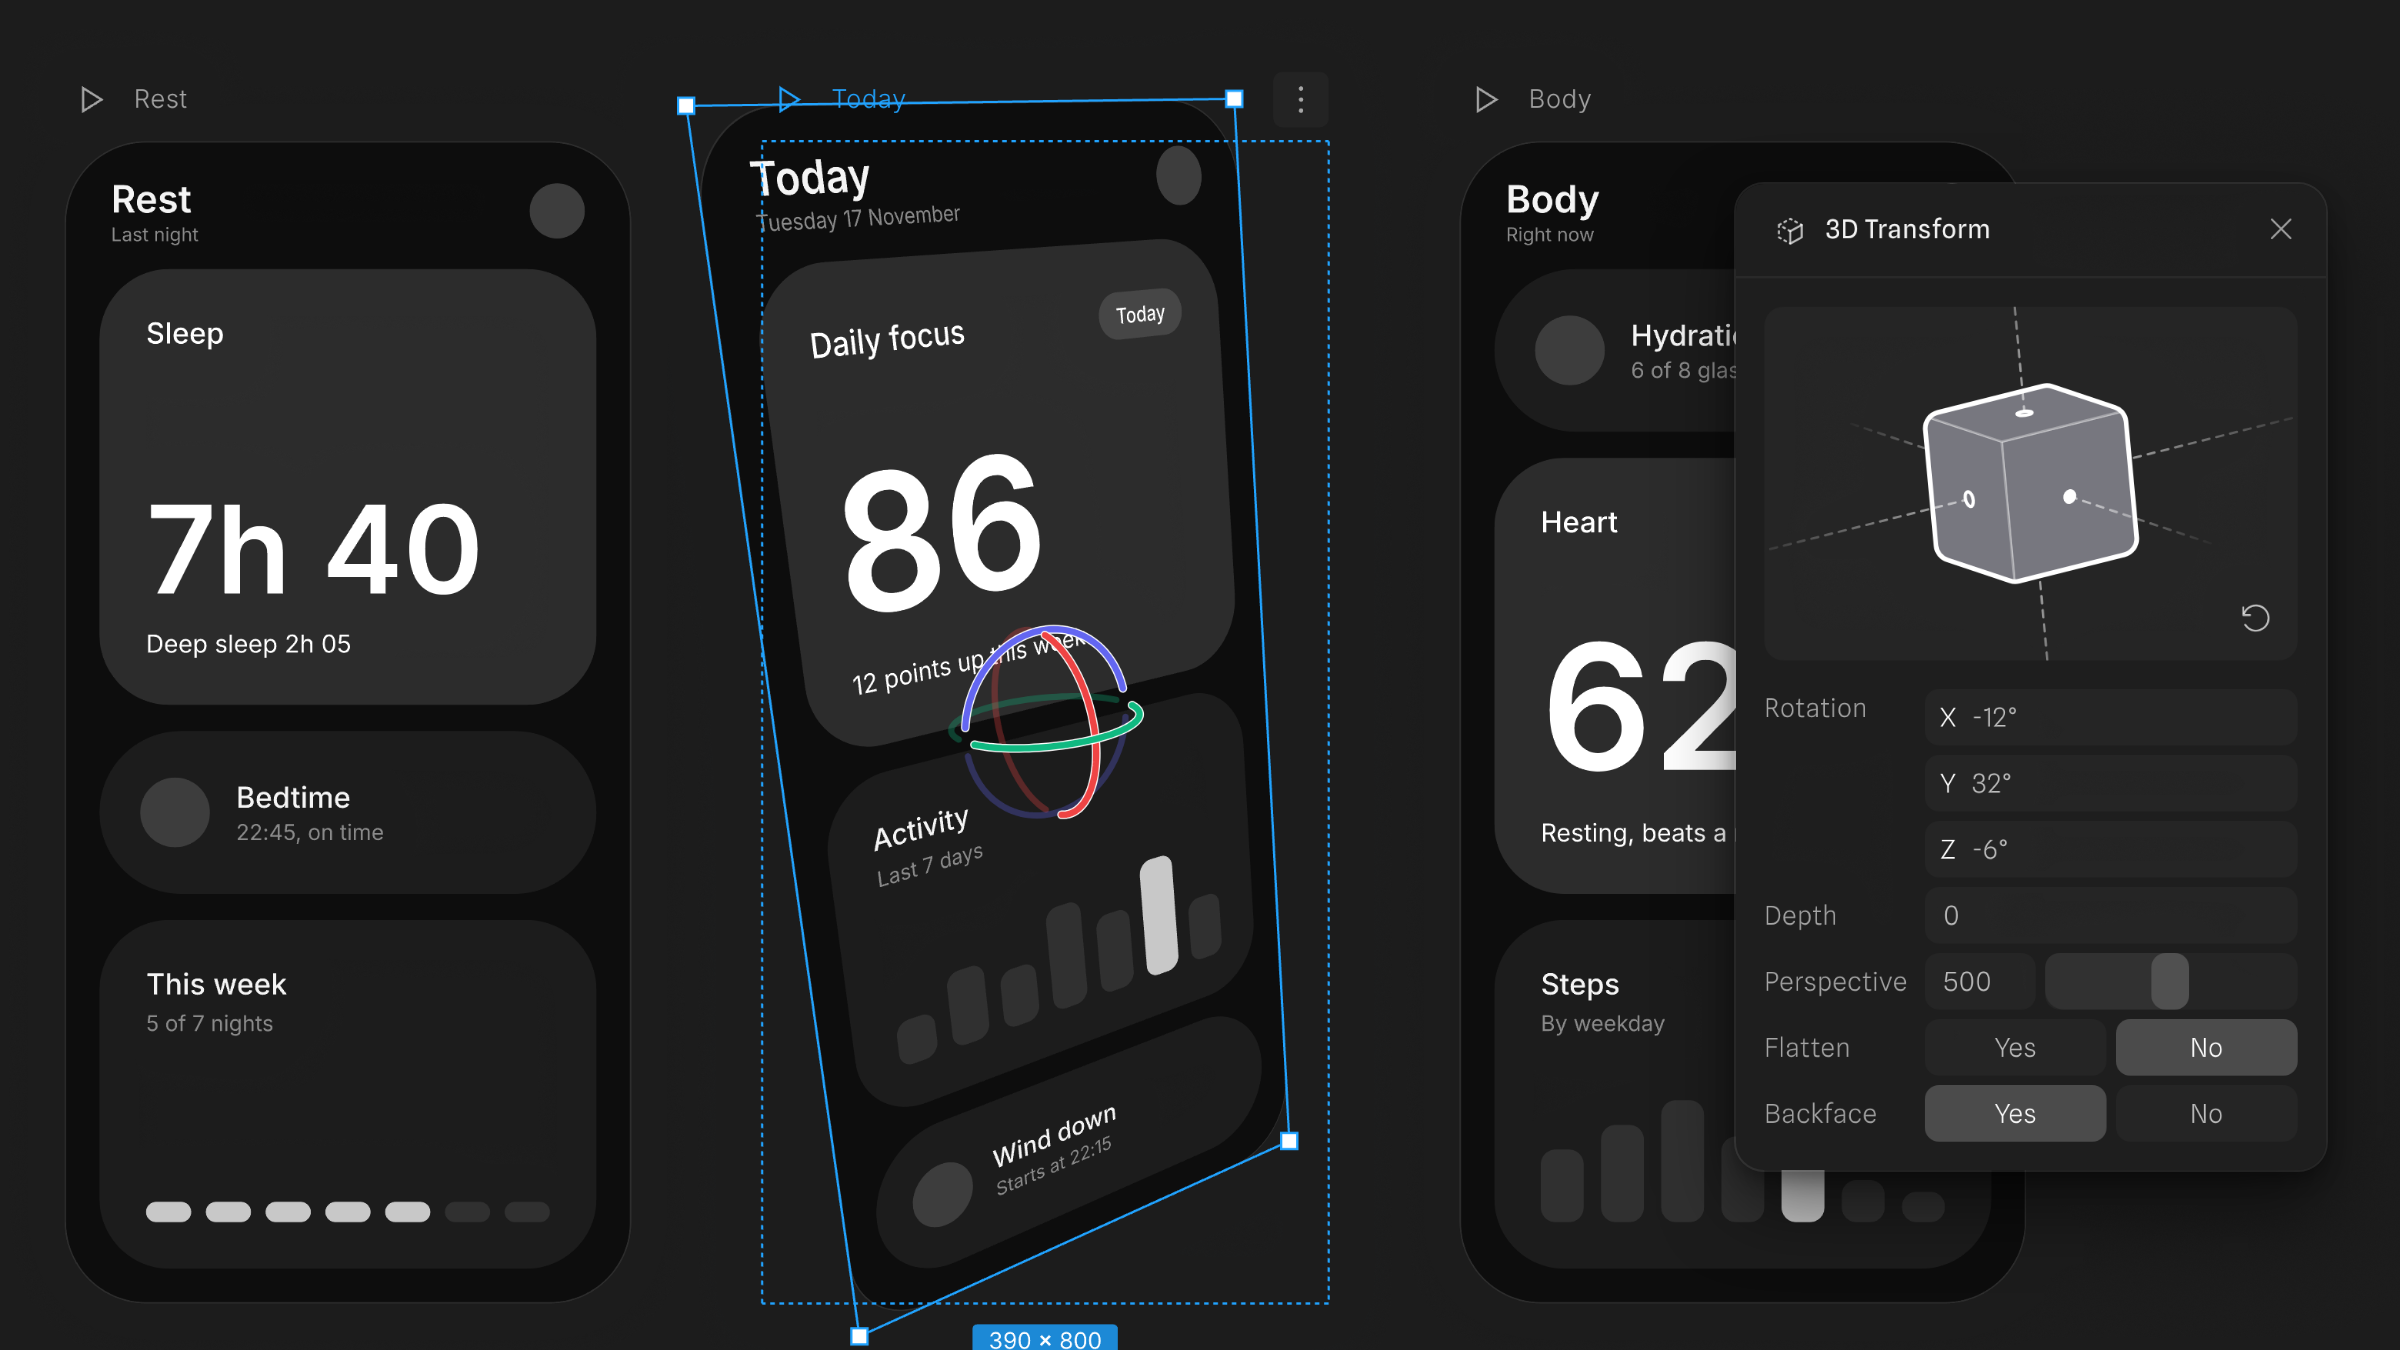
3D Transform is now in the Effects panel. It has moved out of the Transform panel and sits right below 3D Shape in the list of effects. Add it like any other effect, then click its icon to open a panel with everything in one place: Rotation X, Y and Z, Depth, Perspective, Flatten and Backface. At the top is a cube that is turned the same way as your layer. Drag the cube to rotate the layer, or press the reset button to lay it flat again. The eye icon on its row turns the transform off without losing its values.
A 3D transform doesn't flatten the object, so everything inside it stays editable. Text is still text, auto layout keeps working, and you can animate the rotation, depth and perspective with states and events.
Grid layout
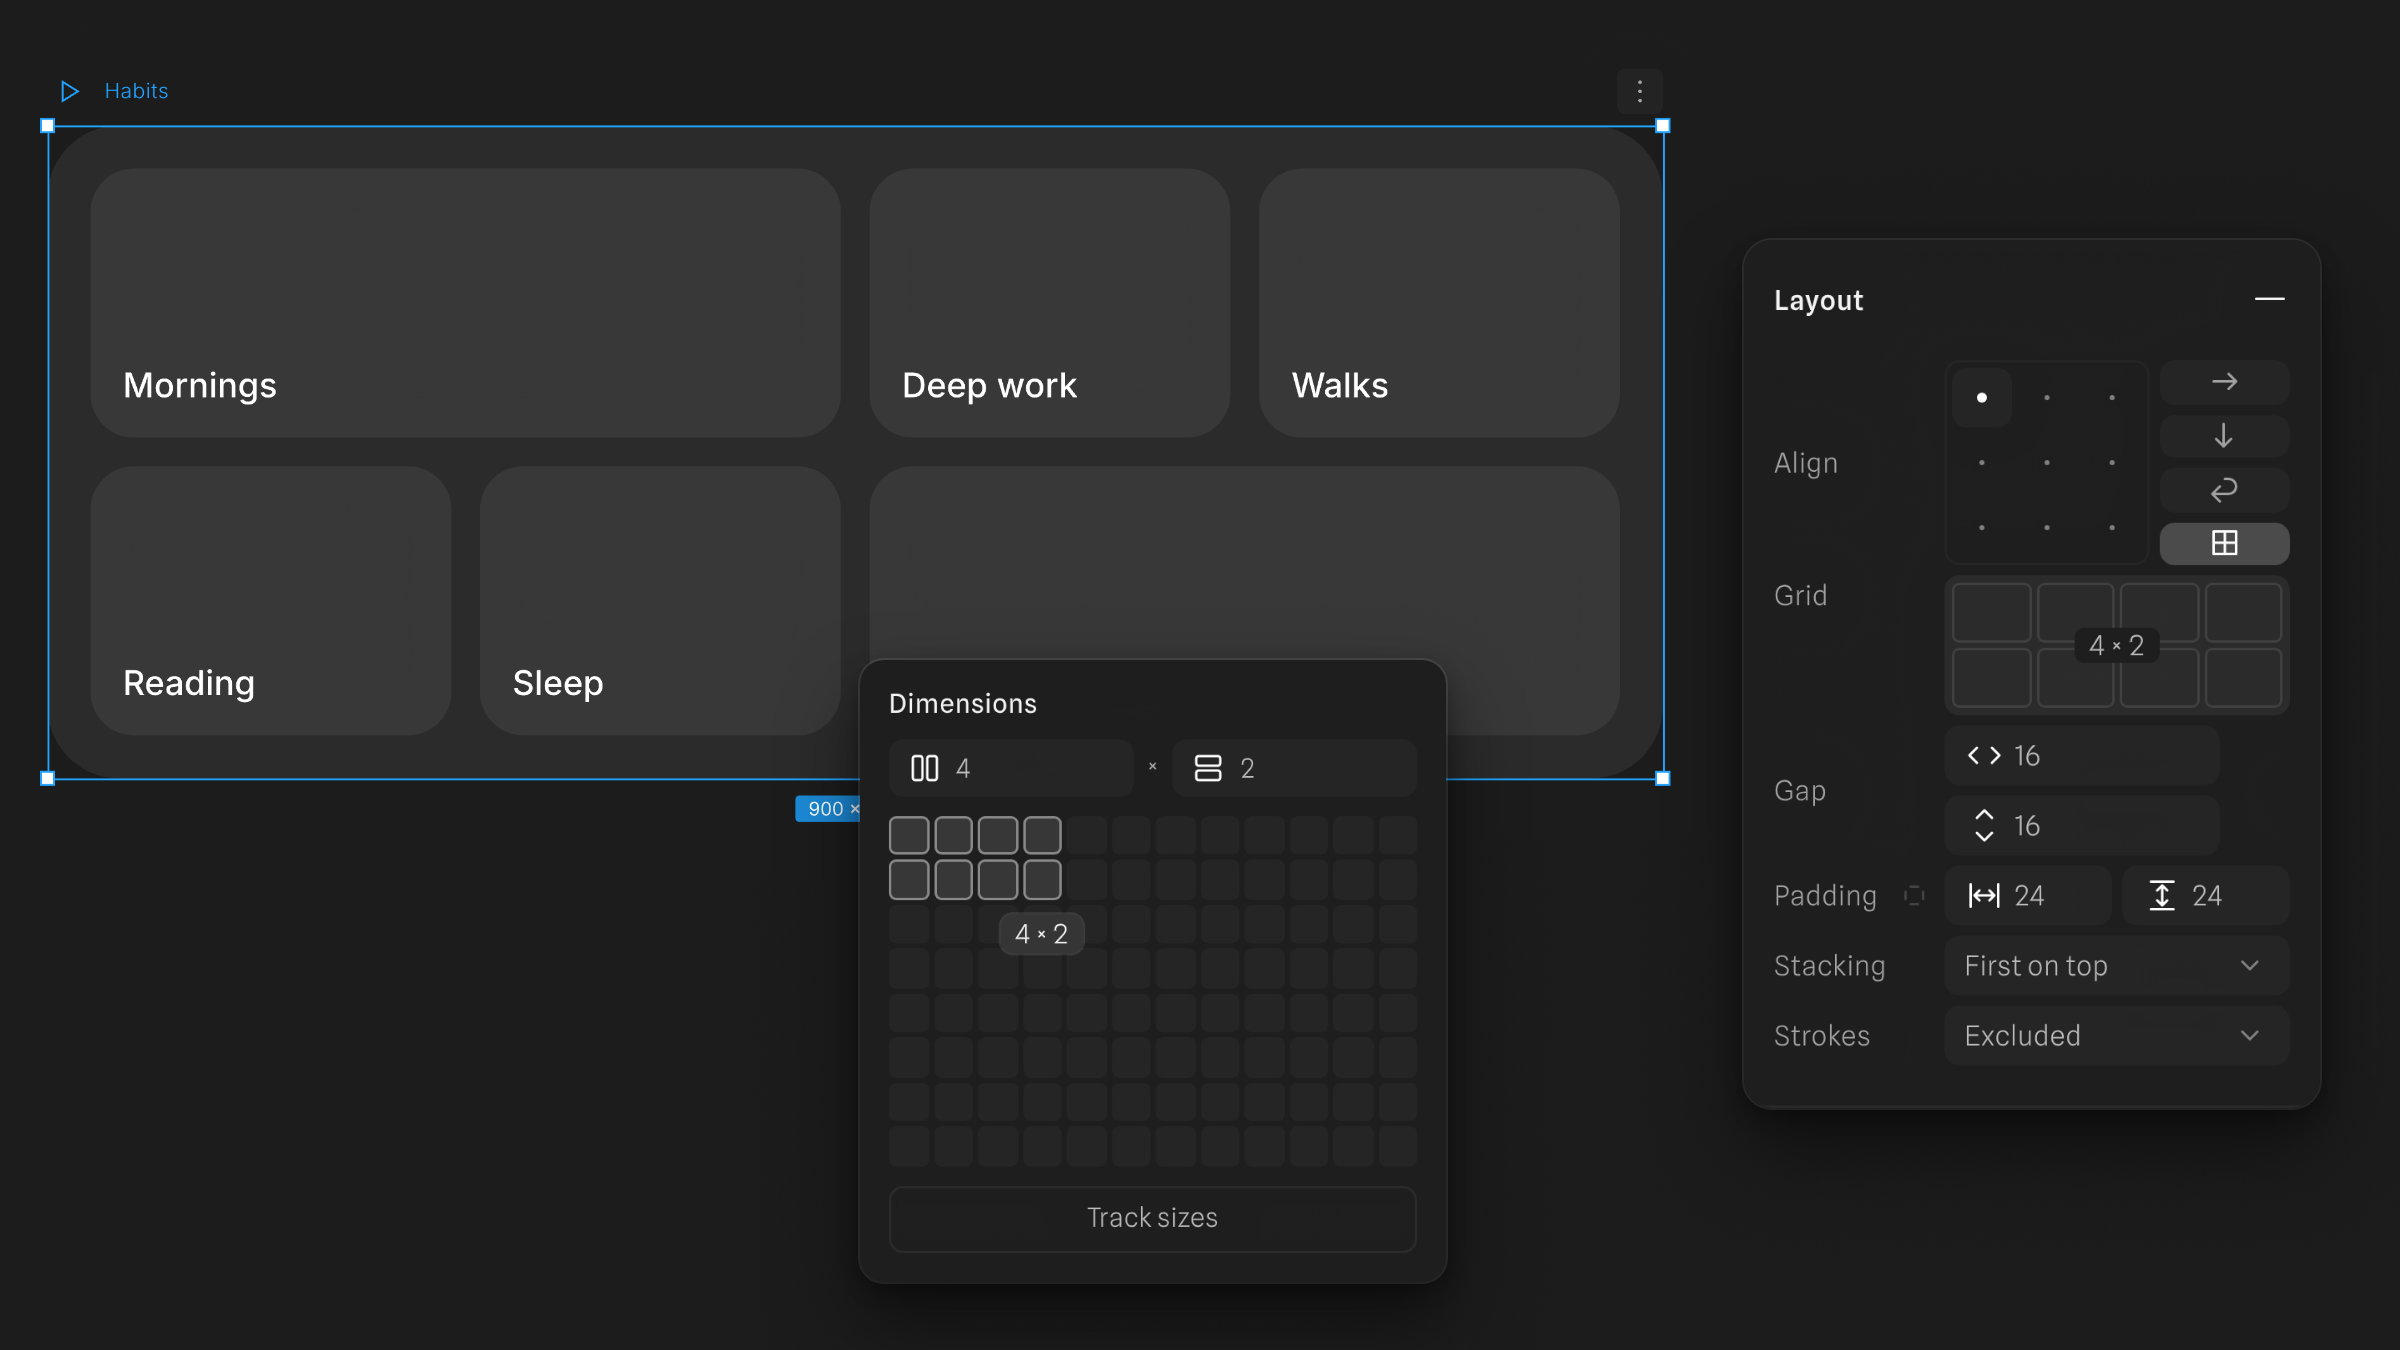
Auto layout has a fourth mode next to Row, Column and Wrap: Grid.
Each column and row is a track. A track can be a fixed size in pixels, a share of the free space (1fr), or auto to fit its content. Children fill the cells row by row, in layer order, and any child can span several columns or rows. A child set to Fill takes up its whole cell, and a frame set to Hug shrinks to fit its tracks. There are two gap fields, one for the space between columns and one for the space between rows.
The Layout panel shows a small picture of the grid. Click it to change the dimensions: type the number of columns and rows, or point at a cell in the picker to set both at once. "Track sizes" lets you edit the tracks directly, using the same syntax as CSS, like 1fr 1fr 200 auto or repeat(3, 1fr). When you export to HTML, the frame becomes a CSS grid.
More control in auto layout
- Aspect ratio lock that sticks. The lock next to the size fields is now saved with the layer. The size fields and the resize handles keep the ratio without holding Shift. Auto layout keeps it too: if a child fills its parent in one direction, its other dimension follows the ratio.
- Min and max sizes. Set a minimum and maximum width and height on auto-layout frames and their children.
- Baseline alignment for rows, so text of different sizes lines up.
- Stacking order. When children overlap, choose whether the first or the last one is drawn on top.
- Strokes in layout. Choose whether a frame's stroke takes up space in its layout.
Multiple fills per layer
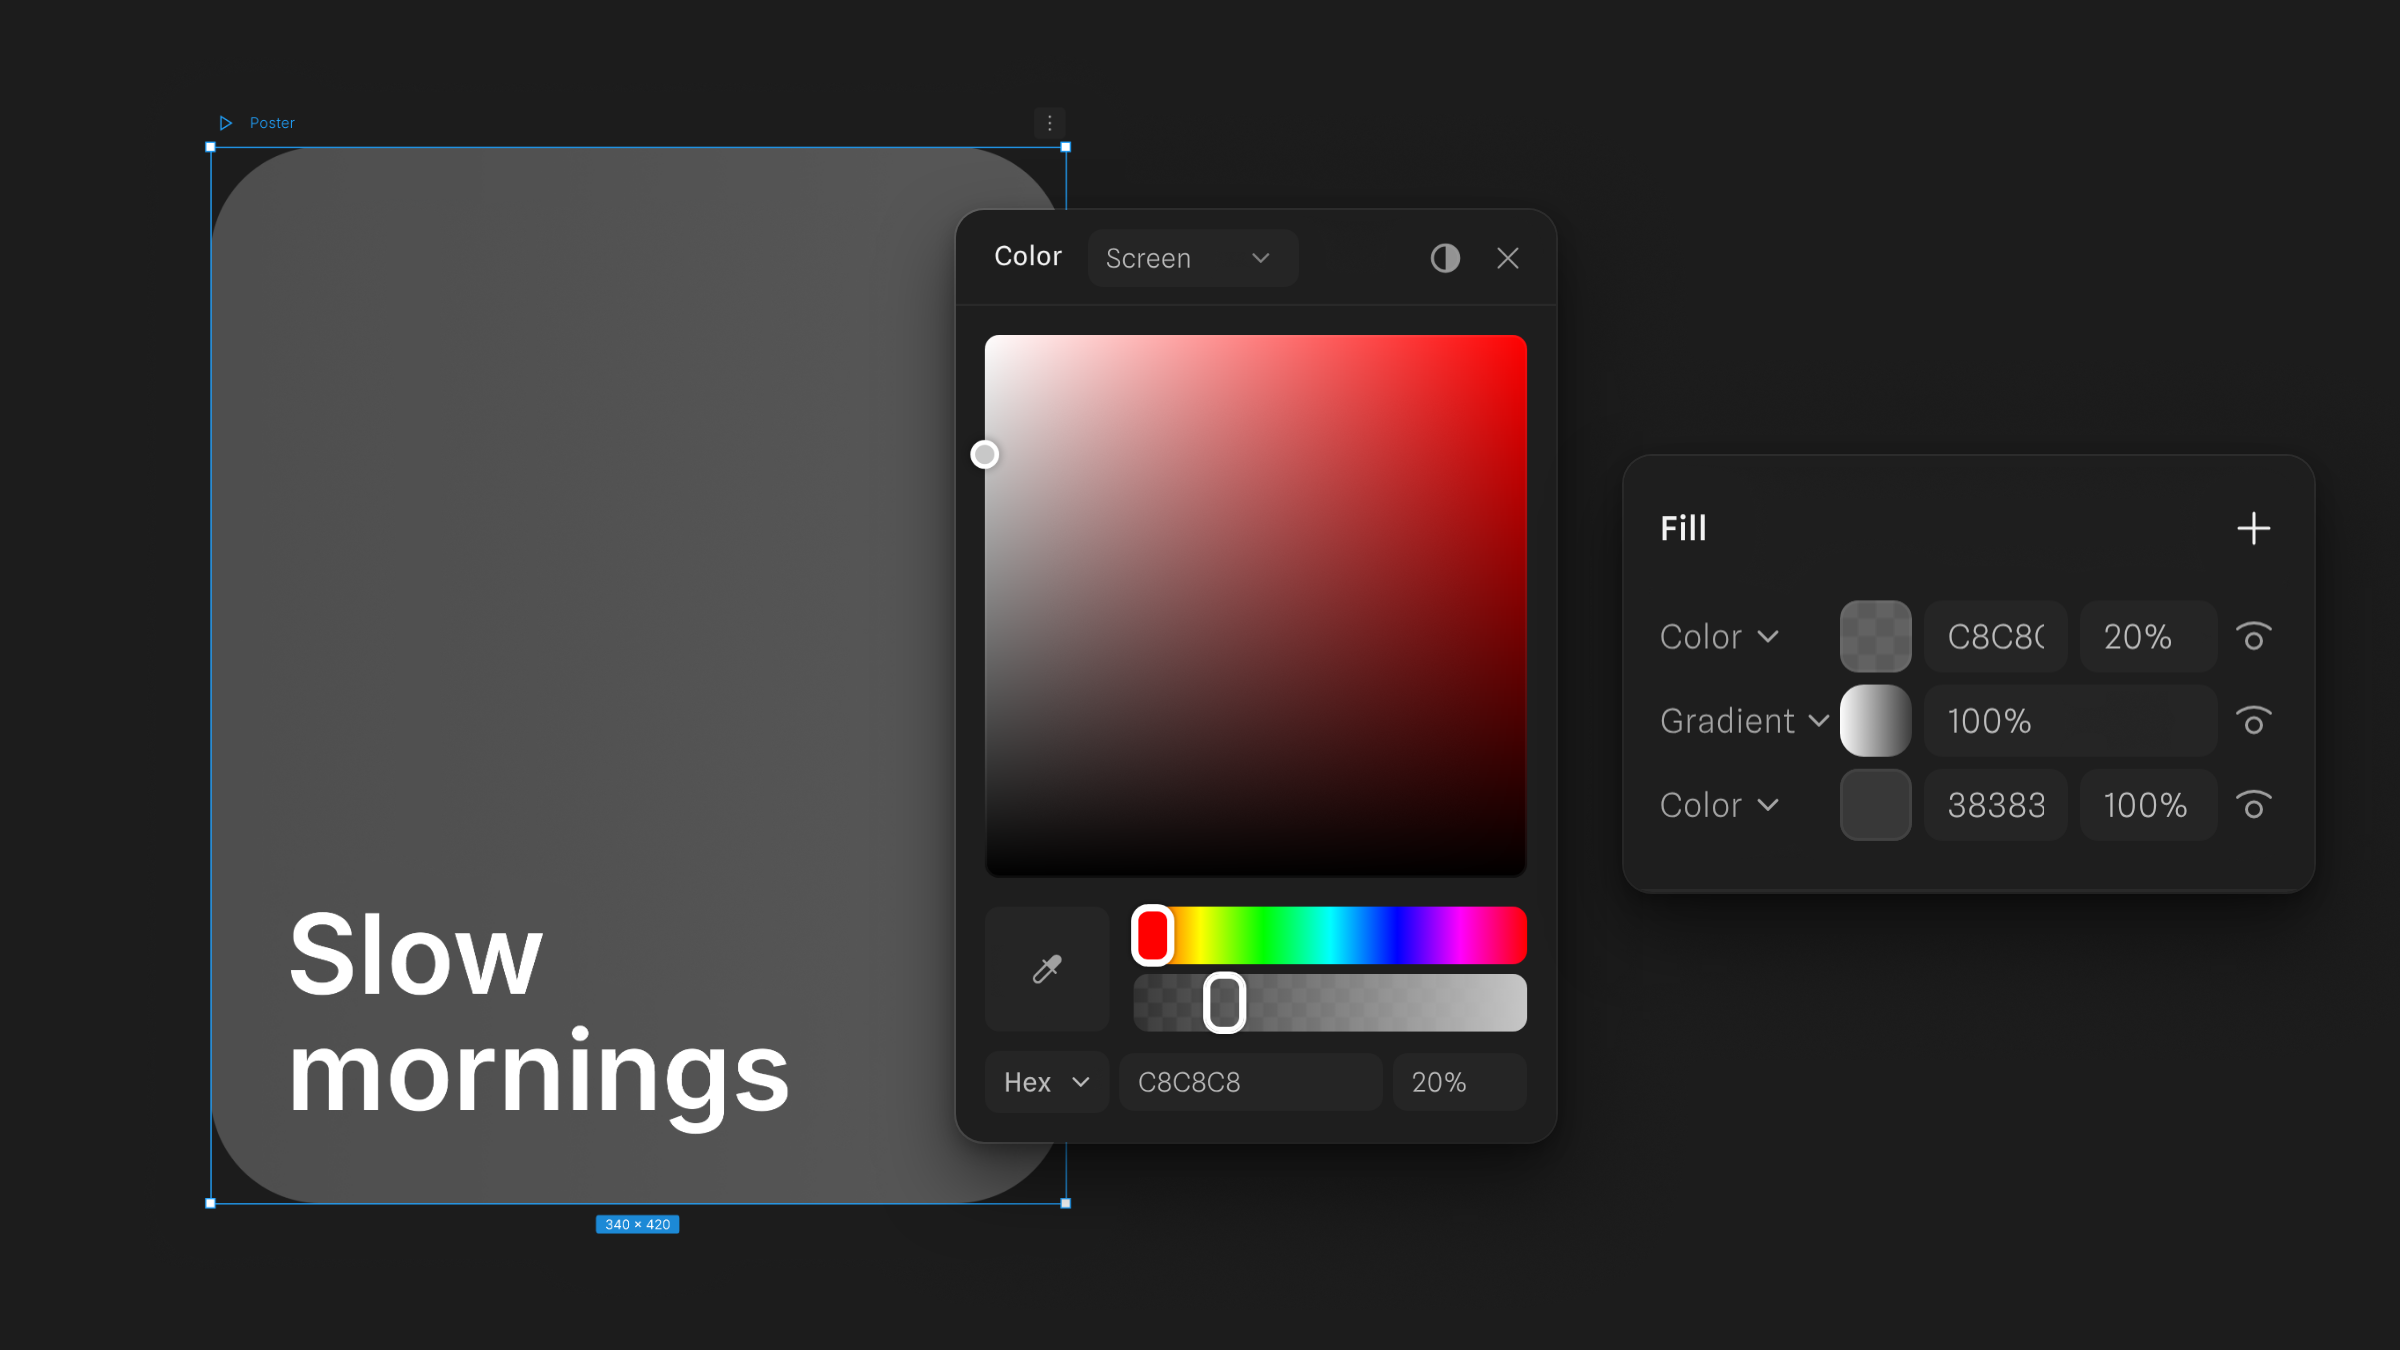
A layer can now have more than one fill. Click the plus in the Fill group to add a fill on top of the others. The list is in the same order as the fills are drawn, with the top fill first. Each fill has its own row, with its own paint, opacity and visibility. Click a fill's swatch to open its panel, where you'll find its blend mode in a dropdown at the top. You can stack a gradient over a color, or add a tint over a gradient with Overlay or Screen. To remove a fill, hover its row and click the x.
Stacked fills can be colors or gradients. Image, video and frame fills can only be a layer's first fill. Stacked fills are included when you export to SVG, PDF or HTML, and Figma import brings in a layer's stacked colors and gradients.
Fills and strokes got a few other additions too:
- Diamond gradients for fills and strokes.
- A blend mode on the fill alone, separate from the layer's.
- Multiple strokes on one layer, per-side stroke widths on rectangles and frames, and a miter limit.
- Shadow spread for drop and inner shadows.
- Display P3. A document's color profile can be set to sRGB or Display P3.
New vector tools
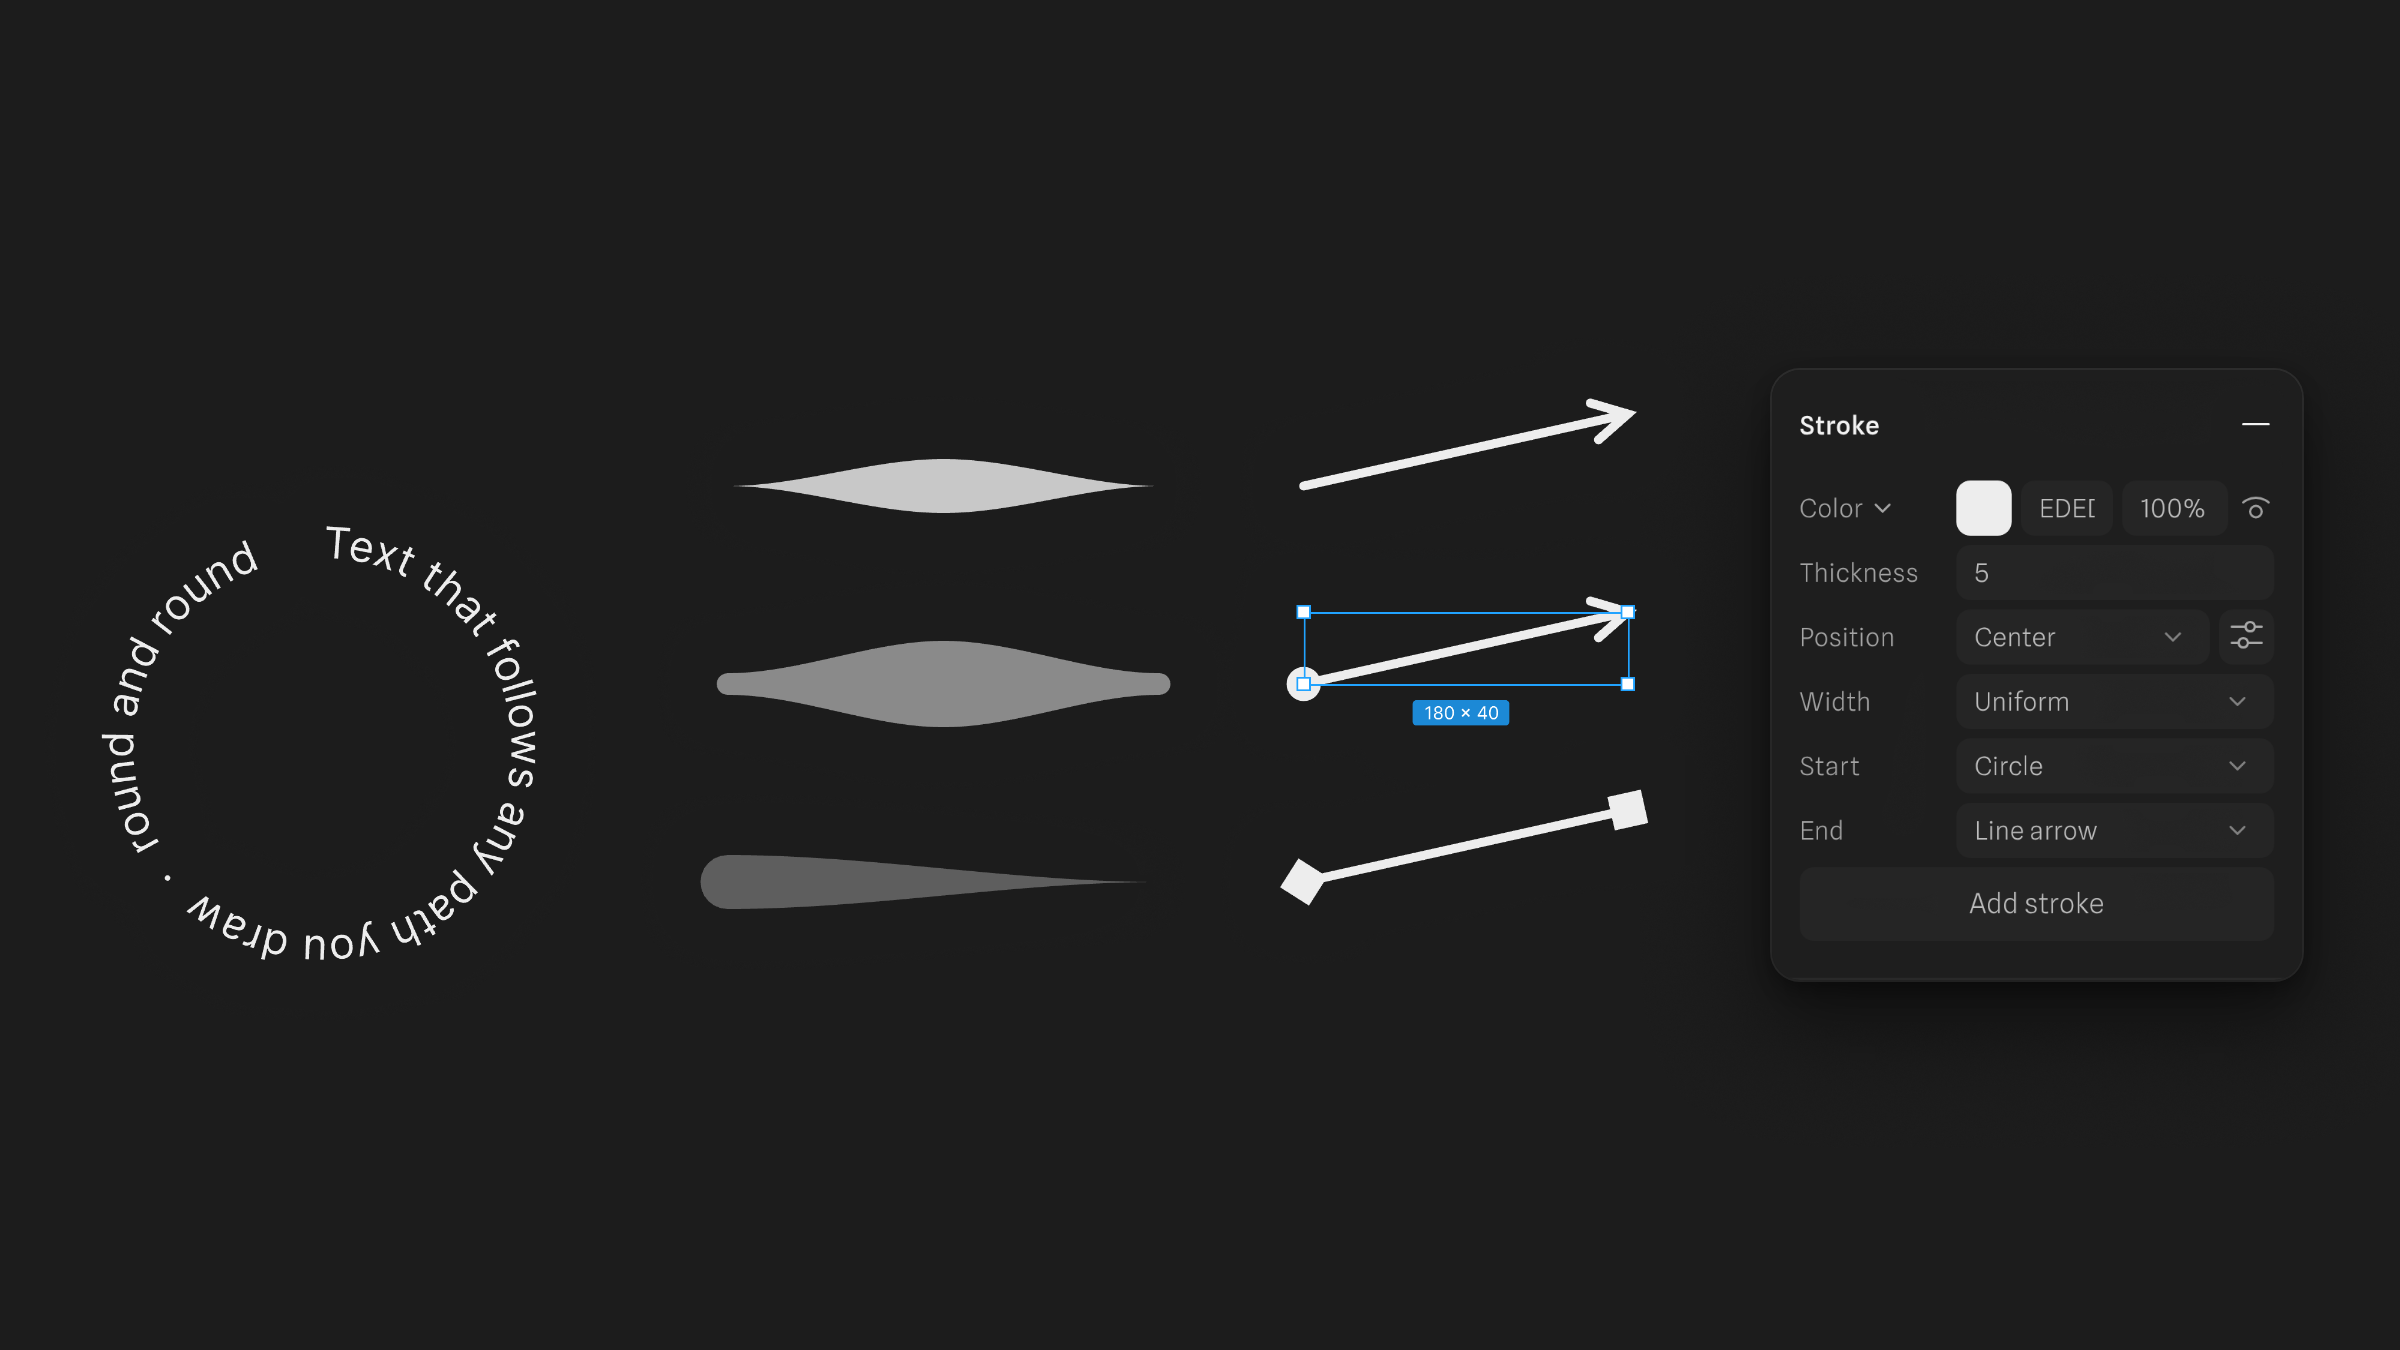
- Line (L) and Arrow (⇧L) tools, with arrowheads for the start and end of any stroke: line arrow, triangle, reversed triangle, circle, square or diamond.
- Variable-width strokes. Use the Width tool (⇧W) to make a stroke thicker or thinner anywhere along its length, or pick a preset like Taper or Bulge.
- Text on a path. Select a text layer and a path, choose Put Text on Path, and the text follows it. You can offset it, flip it to the other side of the path, or detach it again.
- Editing points. Mirroring modes for handles, a lasso (Q) to select points, ⌘J to join two open ends, Simplify Vector and Offset Path.
- Booleans and outlines. An Exclude boolean, ⌘E to flatten, and ⌥⌘O to outline a stroke.
- Place image (⇧⌘K). Pick files, then click where each one goes.
Version history
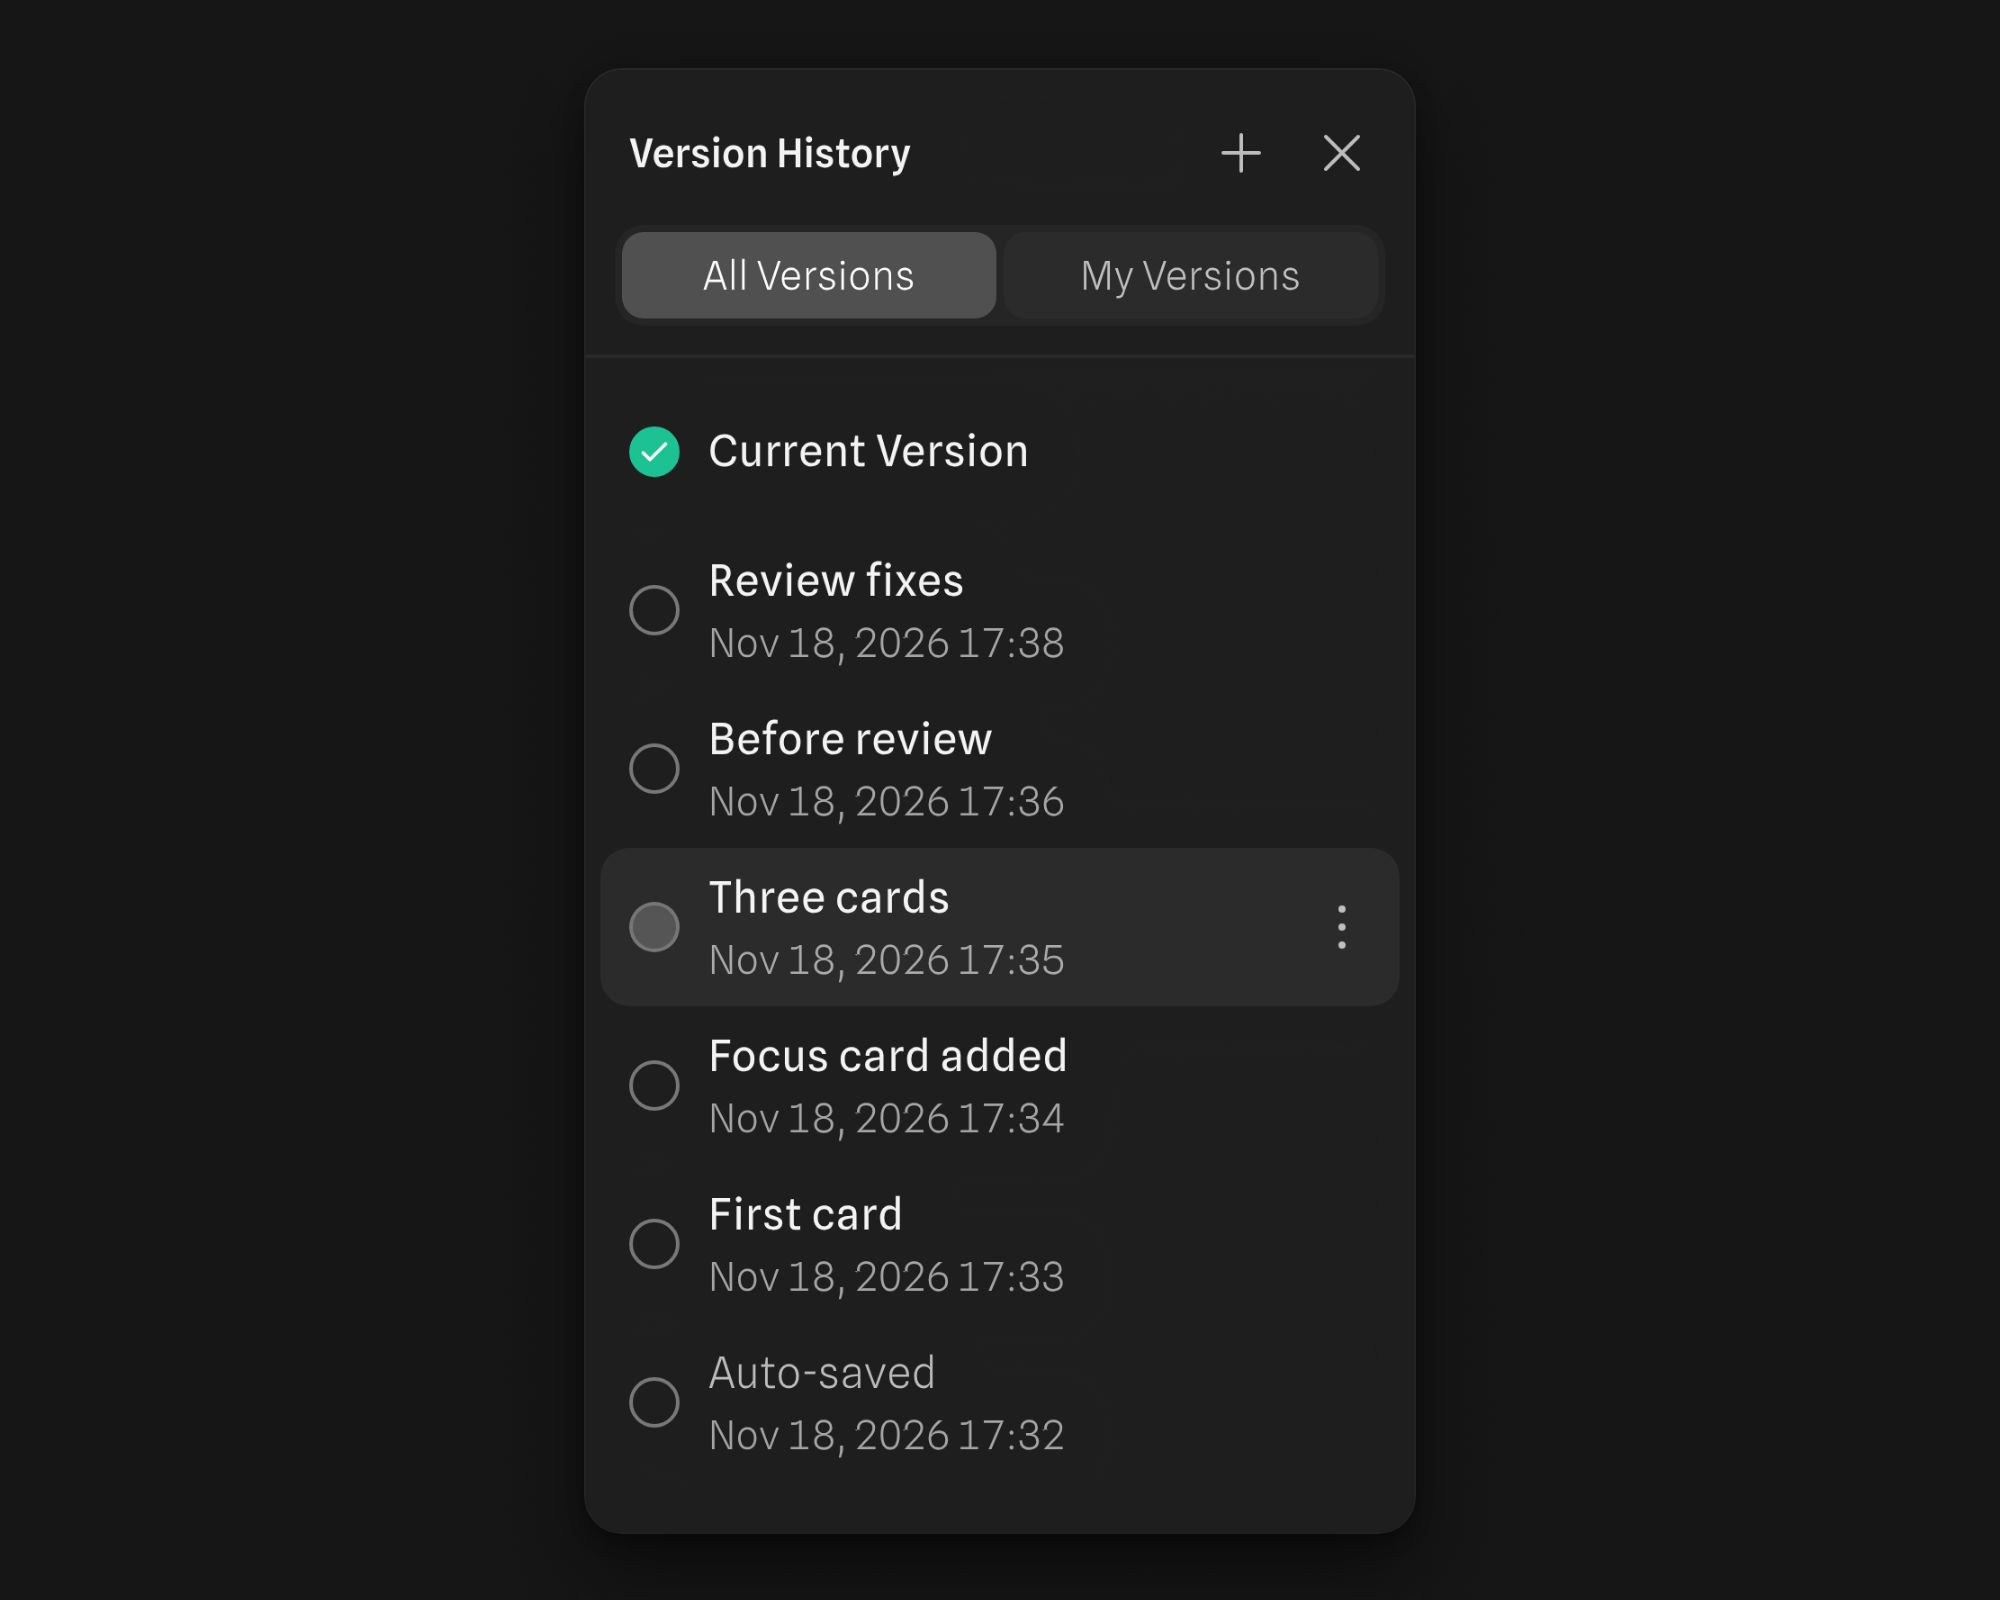
Hana files now have a Version History panel. You can open it from the main menu or the command palette. It lists the file's versions, newest first, and you can filter the list to the versions you saved yourself.
Click a version to preview it on the canvas. The preview is read-only, and a bar on the canvas lets you choose "Use this version" or cancel. You can save a named version before a big change, rename it later, duplicate it as a new file, or restore it. Restoring a version adds it as a new version on top, so you don't lose anything that came after it.
Anyone who can edit a file can browse and preview its versions. Saving named versions and restoring are part of our paid plans.
A command palette, and a faster keyboard
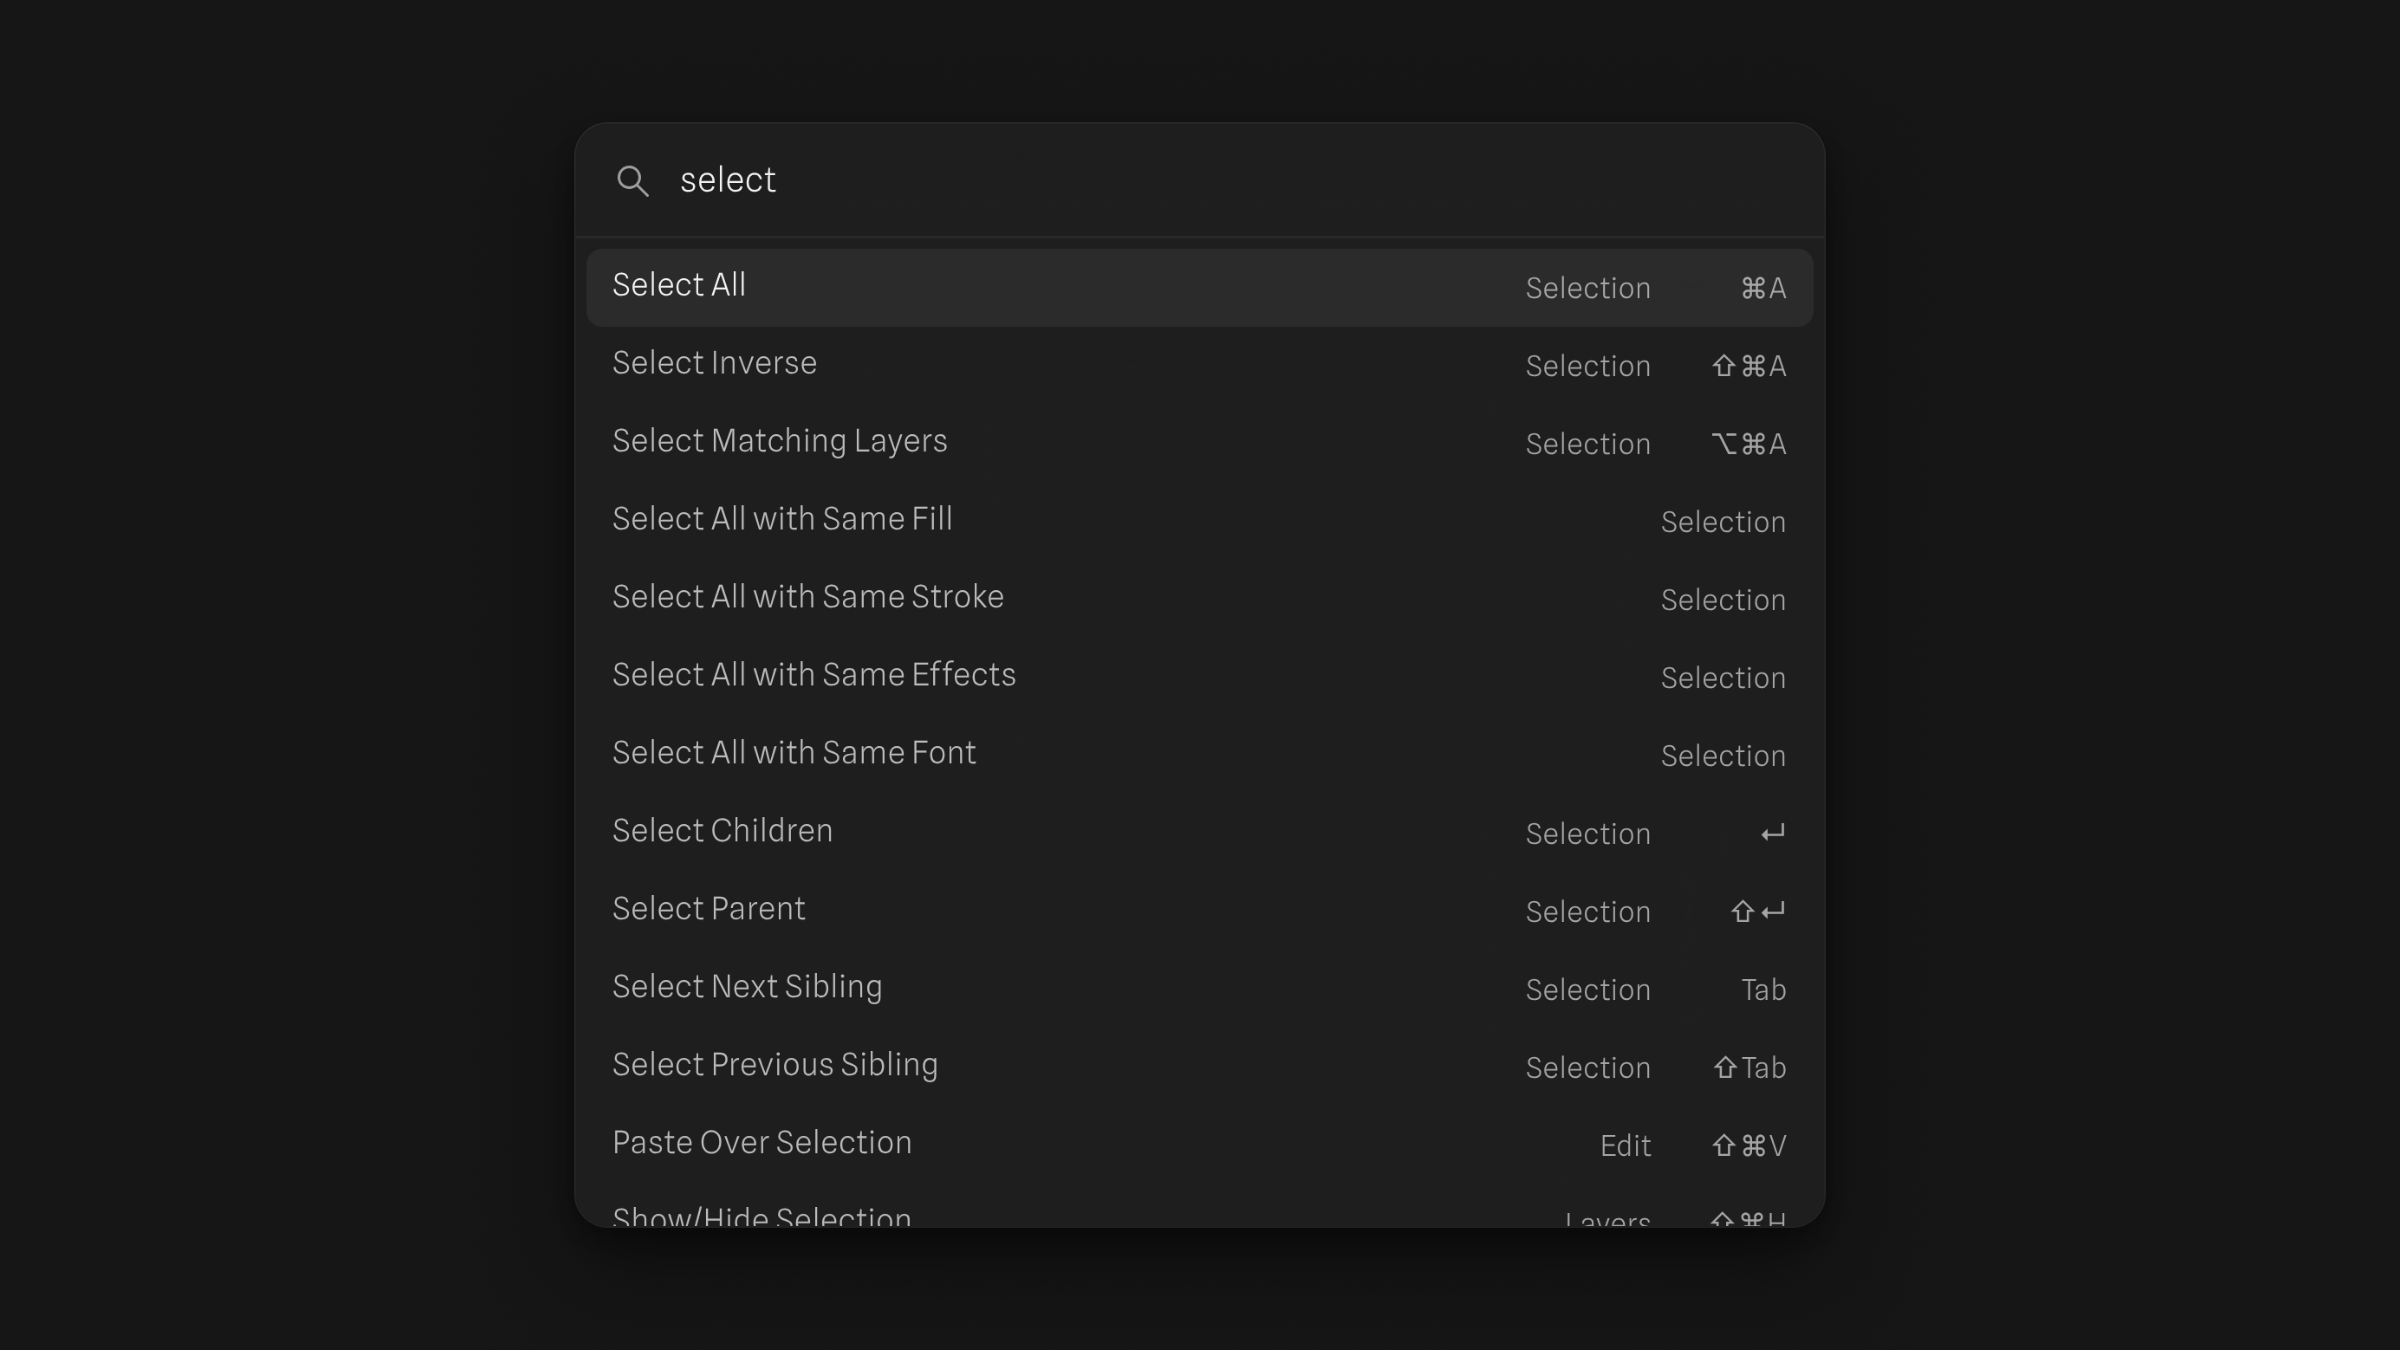
Press ⌘K to open the command palette. It lists every command in the editor (tools, menu items and view options), each with its shortcut. You can also ask the agent from there.
- Keyboard shortcuts panel (⌃⇧?), which also keeps track of the shortcuts you have used.
- Find and replace (⌘F) across layer names and text.
- Batch rename, with numbering and the current name as placeholders. ⌘R renames a layer in place.
- Selection. ⌘A selects the siblings of what you have selected and ⇧⌘A inverts it. Enter moves into a layer's children, ⇧Enter goes back up, and Tab steps through siblings. Select matching layers (⌥⌘A), or everything with the same fill, stroke, effect or font.
- Selection colors. One panel lists every color in the selection, so you can change a color everywhere it is used.
- Clipboard. Paste over the selection (⇧⌘V), paste to replace (⇧⌘R), and copy as PNG (⇧⌘C), SVG, CSS or HTML.
- Duplicate. ⌘D repeats the offset of your last duplicate, so you can make a row of copies with a few key presses.
- Layers. ⌘] and ⌘[ move a layer up and down the stack, ⇧⌘H hides and ⇧⌘L locks.
On Windows, ⌘ is Ctrl.
New ways to look at the canvas
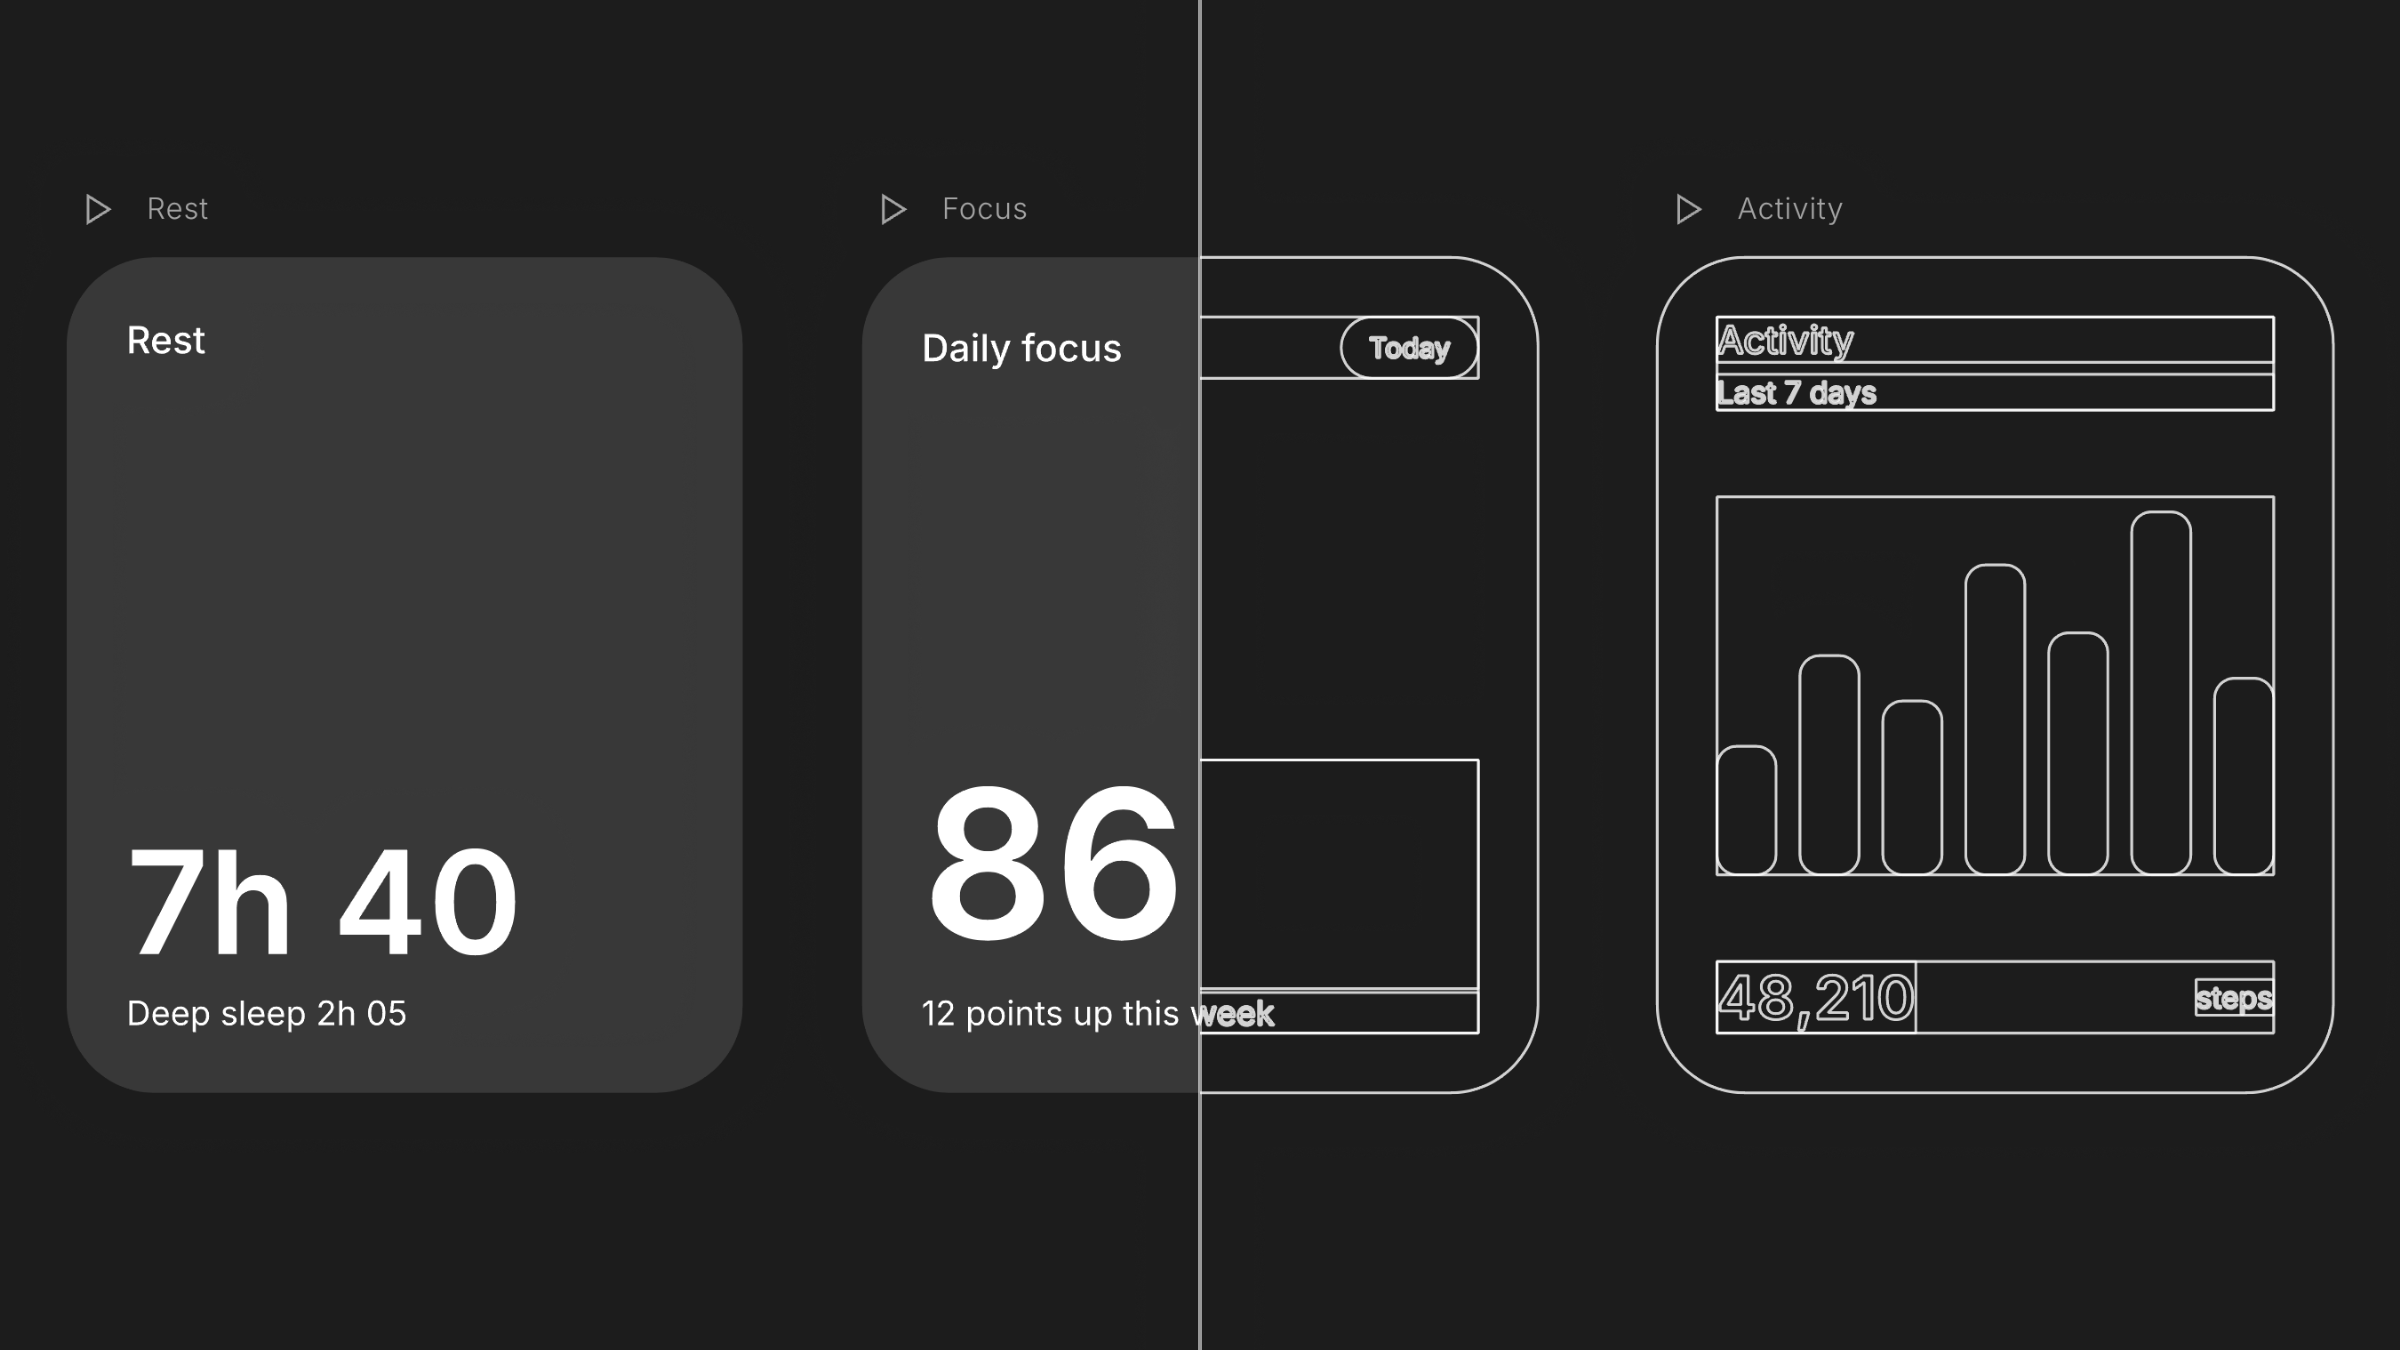
- Outline mode (⌘Y) draws every layer as a thin outline, which makes it easy to find layers that are hidden under something else.
- Pixel preview shows the page in real pixels, at 1x or 2x, so you can check how edges and small text will look.
- Hand tool (H), and zoom shortcuts: ⌘+ and ⌘−, ⇧1 to fit the page and ⇧2 to fit the selection.
Multi-page PDF
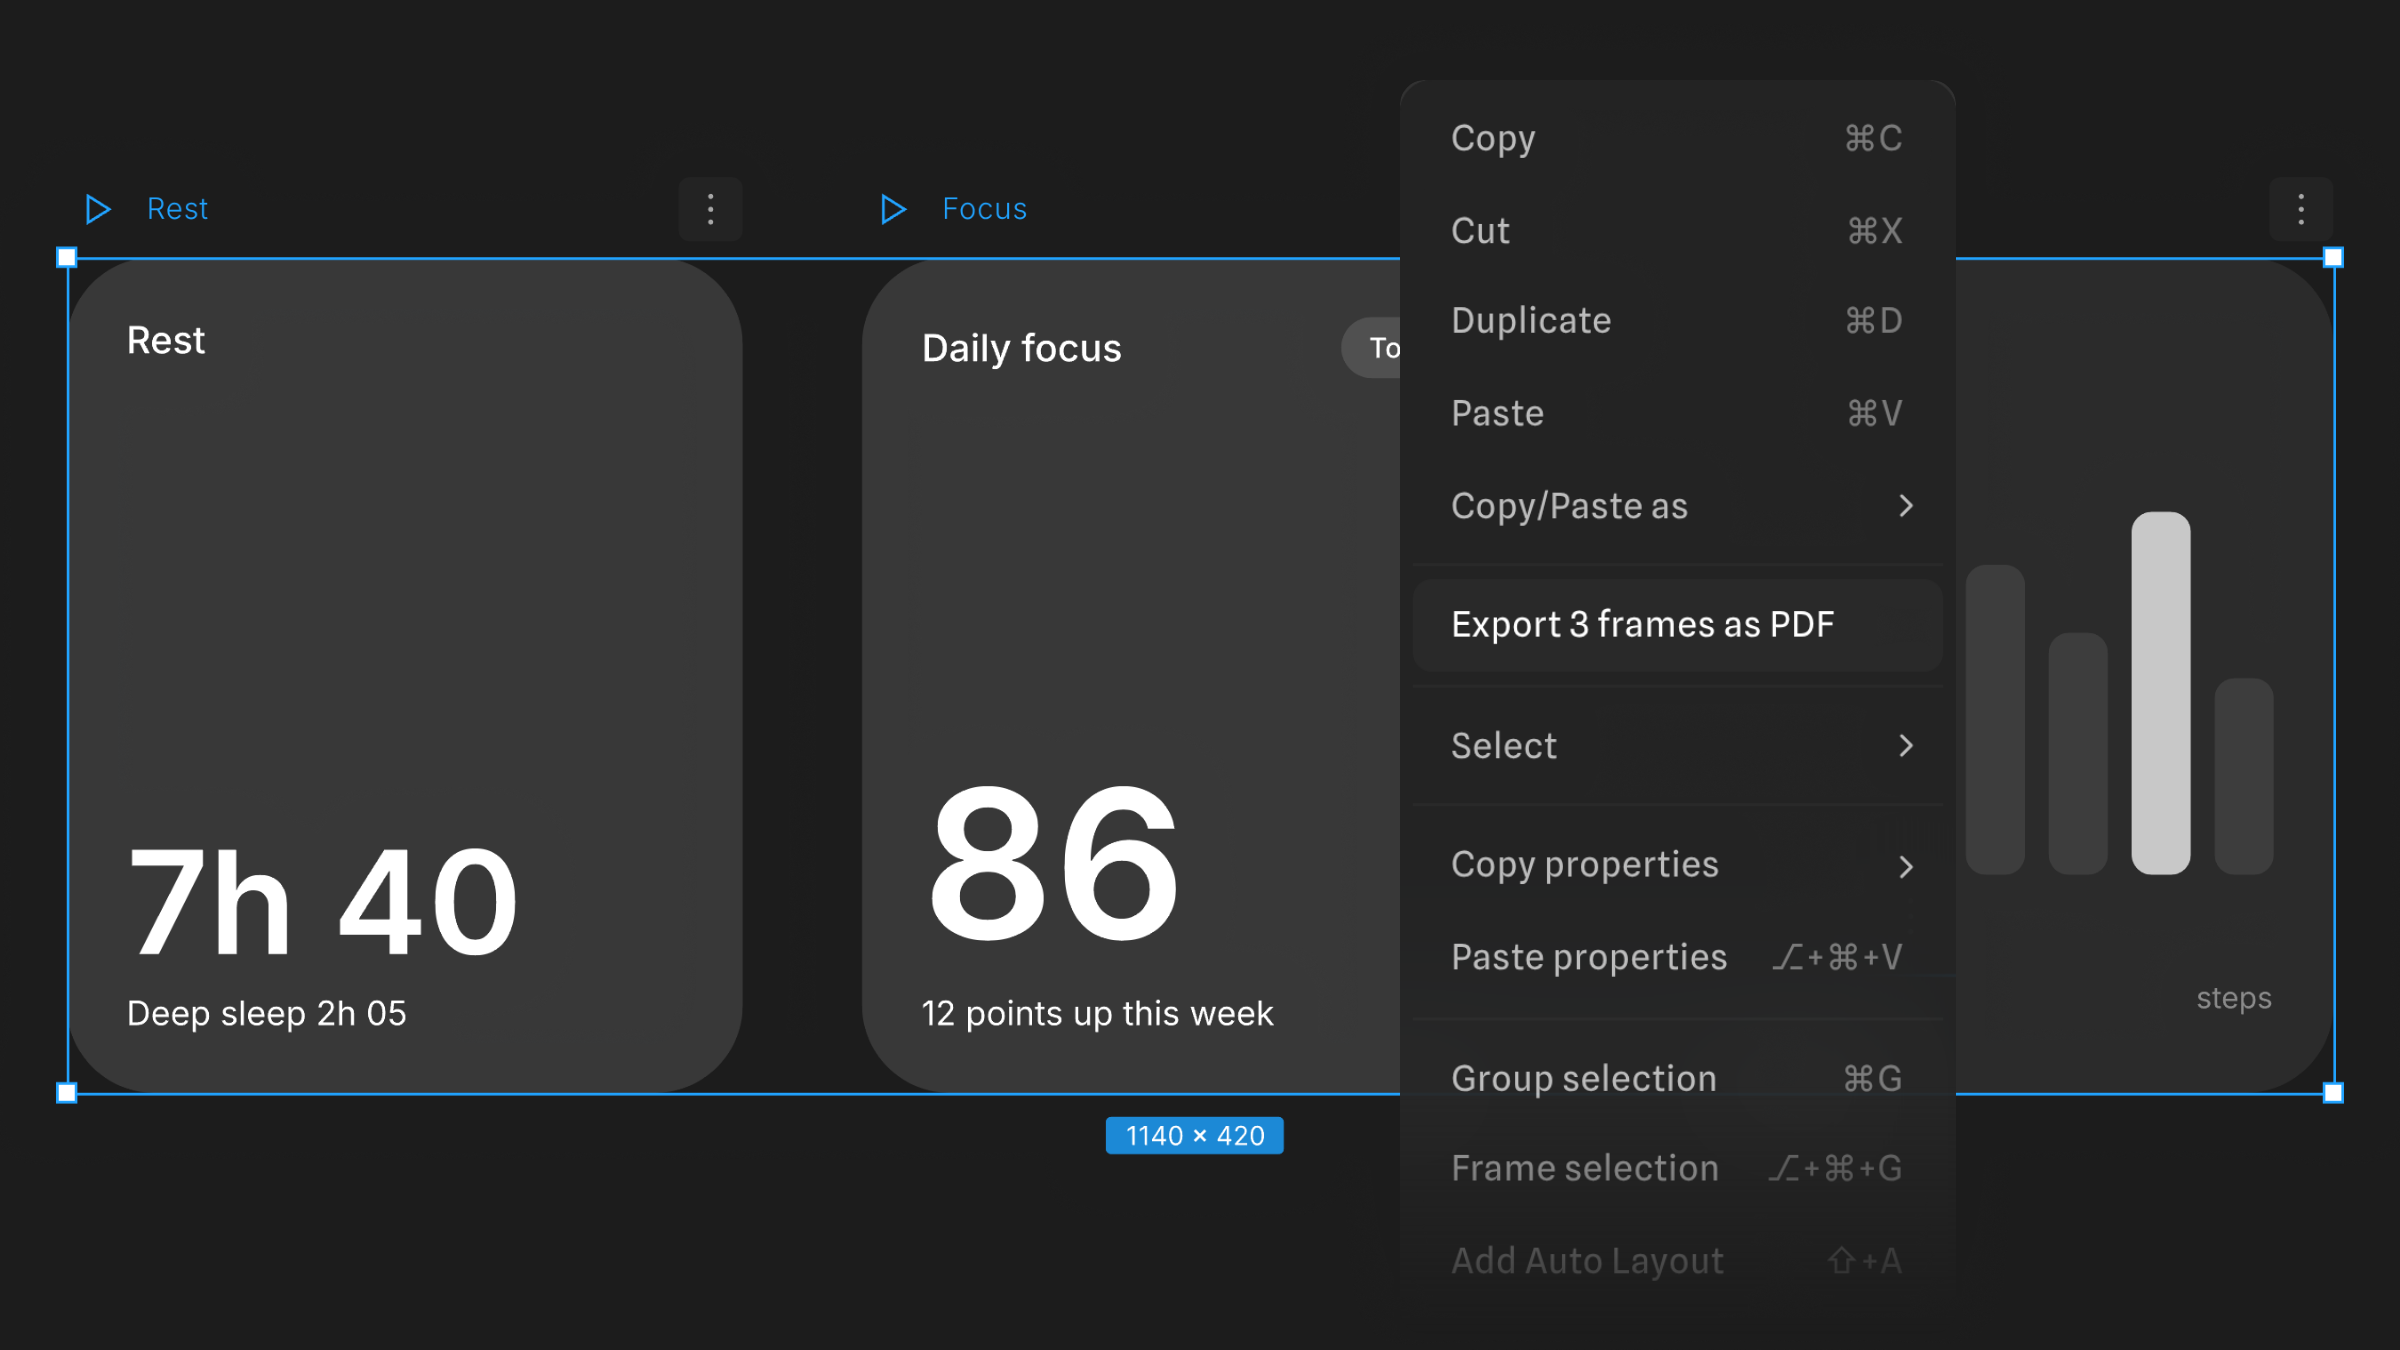
Select two or more frames, right-click, and choose "Export 3 frames as PDF". The number is how many frames you have selected. You get one PDF with a page for each frame, and each page is the size of its frame. The pages are in the same order as the frames on the canvas: row by row from the top, and left to right within a row.
Try it
All of this is live in Hana today. Open a file, turn something in 3D, and show us what you make.
The Spline Team